Project 52: Leash Removal

It’s been a while since I’ve been here. Found out my blog was damaged, if that’s the proper way of explaining it. Finally, everything is on track and I will, hopefully, be regular in my submissions. This week is “Leash Removal.”

When I started taking photos for clients, I felt that everything had to be done in-camera and the heck with all this post-processing. Boy, was I naive. Below is one of my first photos for a client. And, as they say in the South, “bless her heart”, it was of three dogs! It was a challenging session. I was nervous, it was hot, the dogs were moving all over the place. But, I at least did do the right thing by tying their leashes to the gate of the fence.
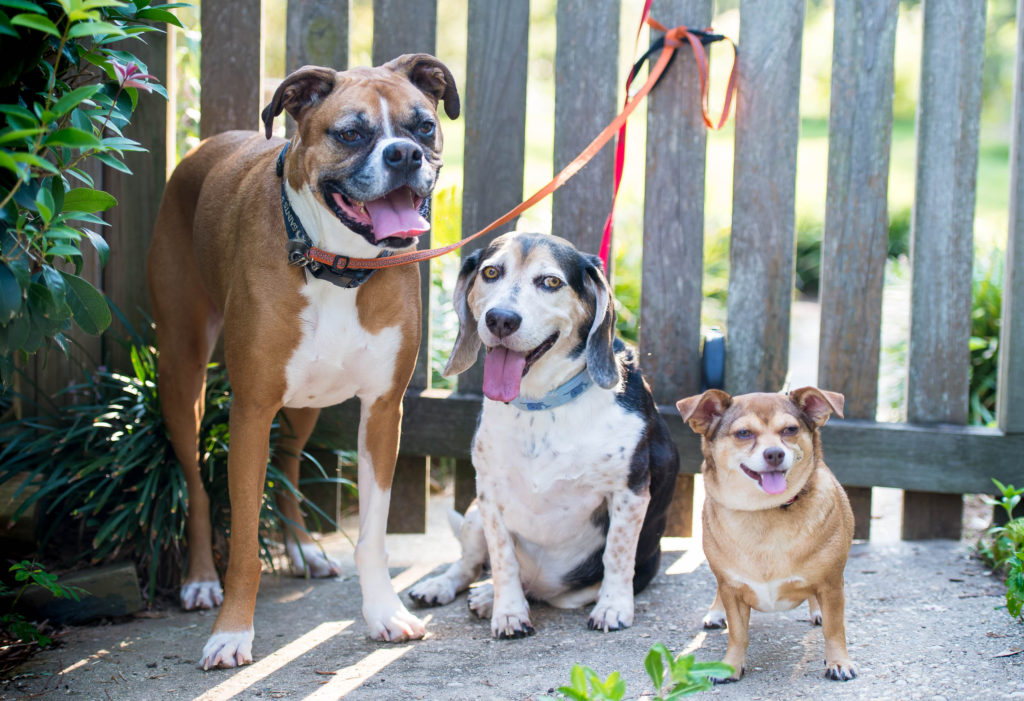
I was delighted that I had captured them calm and looking forward. But then I took a good look. OMG. How am I going to get rid of those leashes. I had never done something like this. I quickly googled some You Tube videos on how to remove them. Fortunately, what I found was Charlotte Reeves’ videos on that very subject. It took me days to remove them. Why days? Well, I would start and be at it for about 30-45 minutes and then get frustrated. Rather than save it (’cause I really didn’t know how to in Photoshop), I just closed and came back later and started from the beginning. Well, I eventually did it and the result is below.
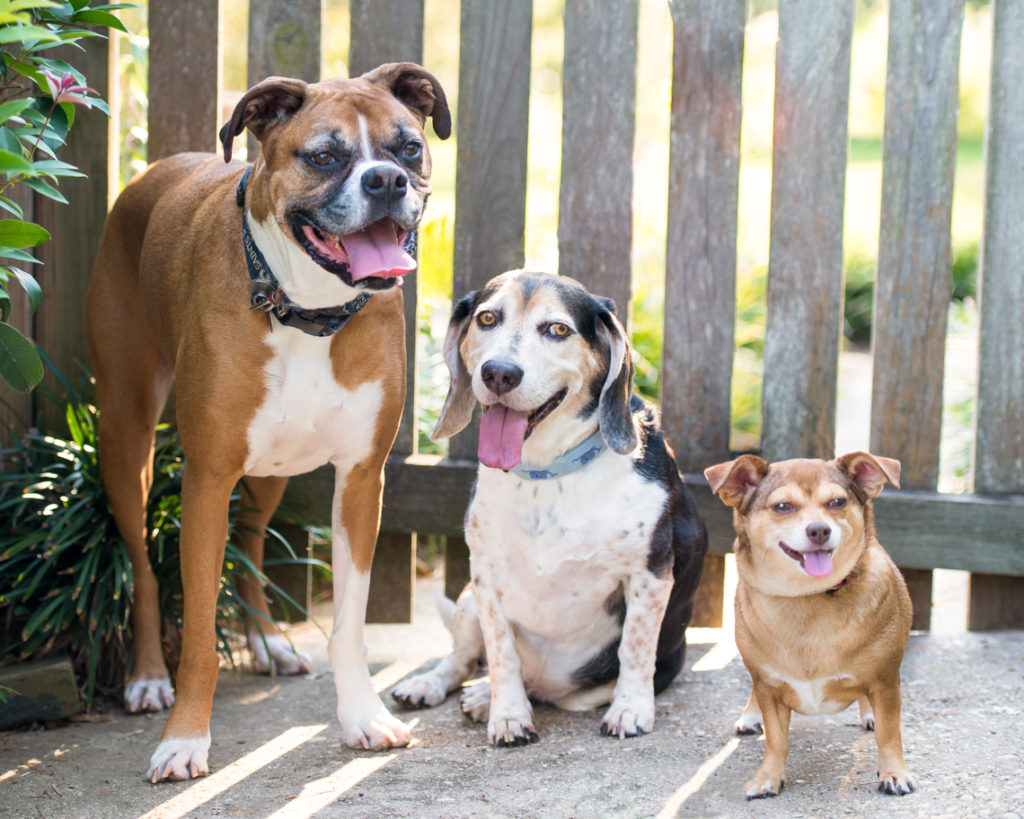
I learned a few things by doing this. First, make sure the leash is behind the dog, not in front. Also make sure that “behind” is at the least visible location, not tied up at the top for the world to see!!! Second, if you have access to a skinnier lead, use it. That’s why I now carry thin show leads whenever I do a shoot. Much easier to remove in post-processing.

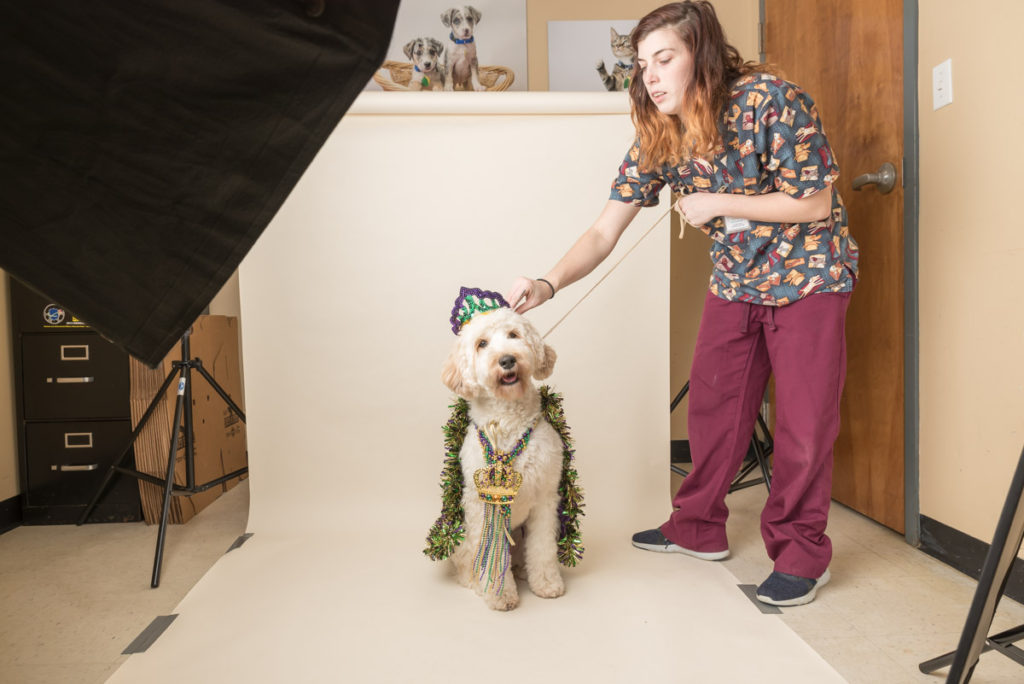
Now to a more recent session. I take photos for a local shelter and, once a year, they have a Mardi Gras walking dog parade, complete with a king and a queen. It’s their major fundraiser for the year. Below is this year’s queen. She is young and happy. While she would stand still for a while (thanks to help from the owner), it was especially challenging to place and keep that crown on her head. She would instantly shake her head and knock it off. What we decided was that, as soon as the dog sat, I would give the OK, and my assistant would put the crown on her. As soon as she did that, I would take the photo. What I had hoped was that I would get the photo right after she placed the crown on the dog but had moved her hand away, even if it was only inches from the dog. While the dog’s expression here is great, she is looking up and very regal, it wasn’t exactly the way I had hoped. I needed to remove, not only the leash (note, it’s a thin show lead), but my assistant’s hand. But it didn’t take me days. In no time, it was done.
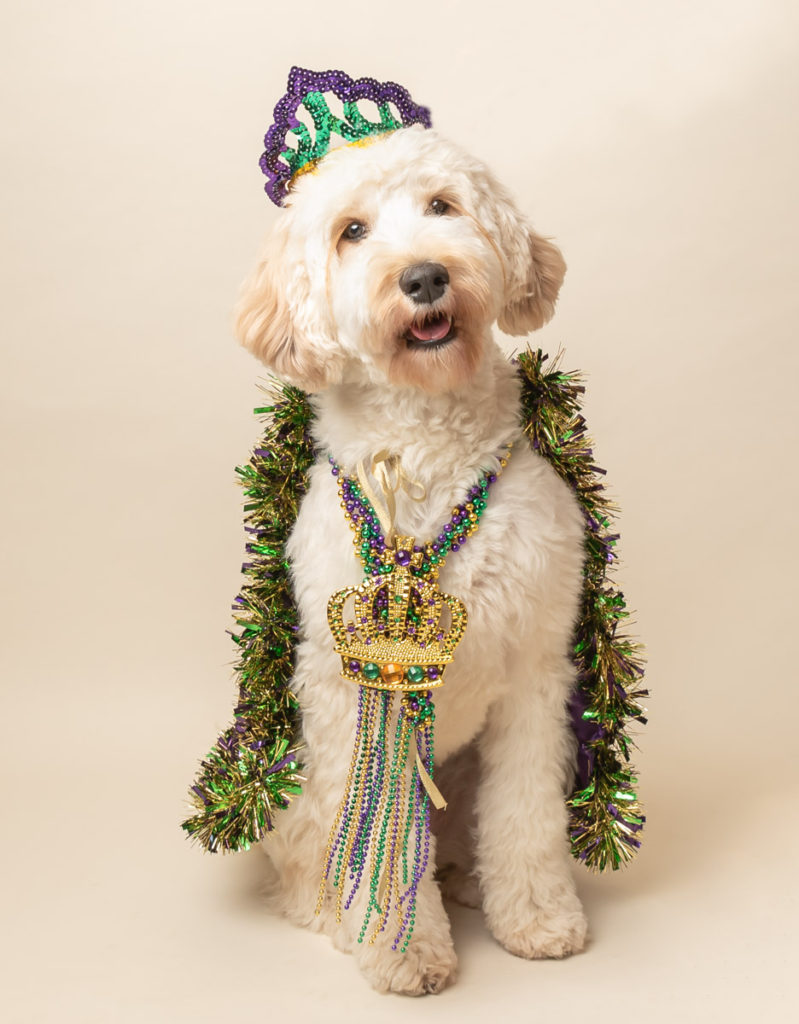
Below is the post-processed photo. Other than removing the leash and hand, there was very little to do. Looking back on where I was several years ago shows me how far I’ve come. I really need to do that more often.
Let’s roll on to Pet Love Photography, serving Greater Cincinnati, the San Francisco Bay Area, and destinations nationwide and see how she removed her leashes.

Project 52: Head Tilts

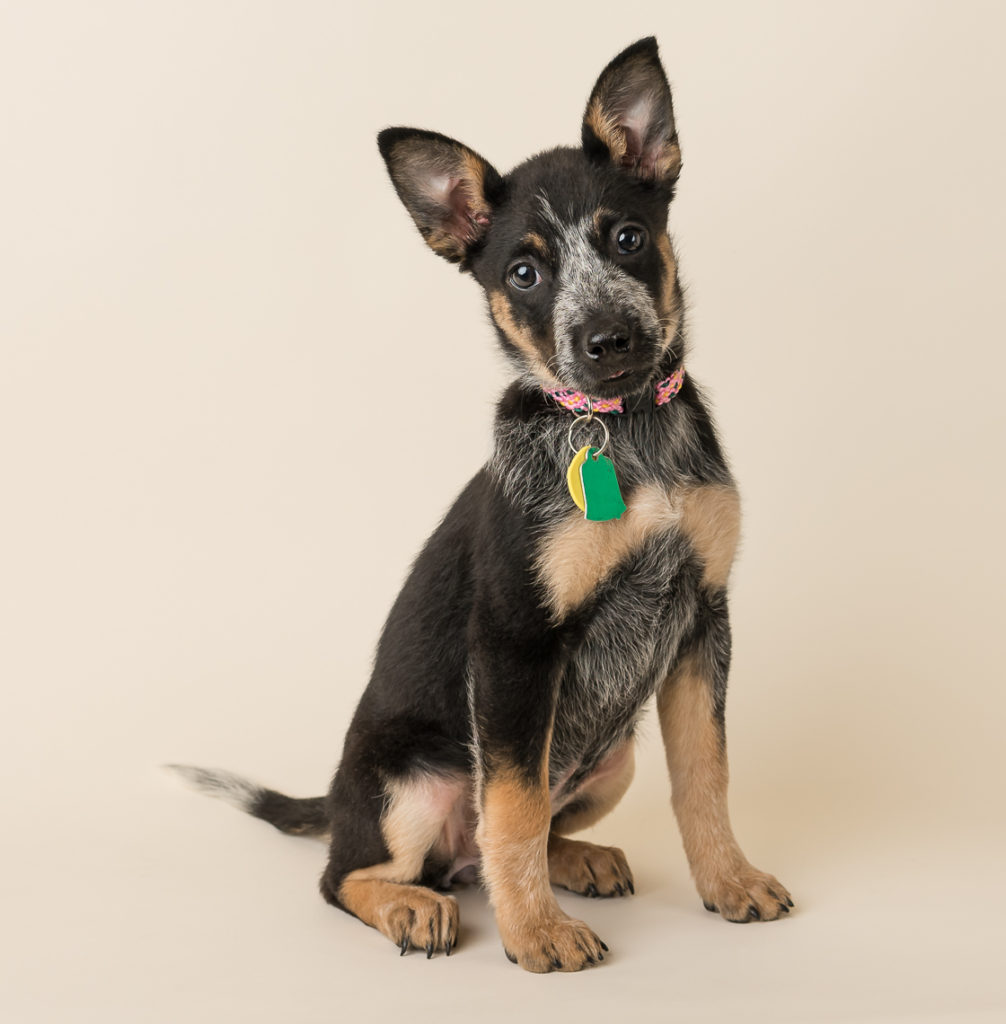
As a pet photographer, one of my goals, especially for my shelter pictures, is to get the dog (and sometimes a cat) to give the cute, adorable, all-appealing head tilt.  No one can resist that, and that’s what we want to see an adoptable animal be – irresistible!

I can usually achieve a great head tilt with an interesting noise; however, not all dogs react.  At the shelter, I have a couple of favorite noise makers and if I can’t get attention and, hopefully, a head tilt, with them, I usually move on as the dog is probably a bit timid and fearful.  But sometimes you can get some great ones.

Below are what I call decent head tilts:

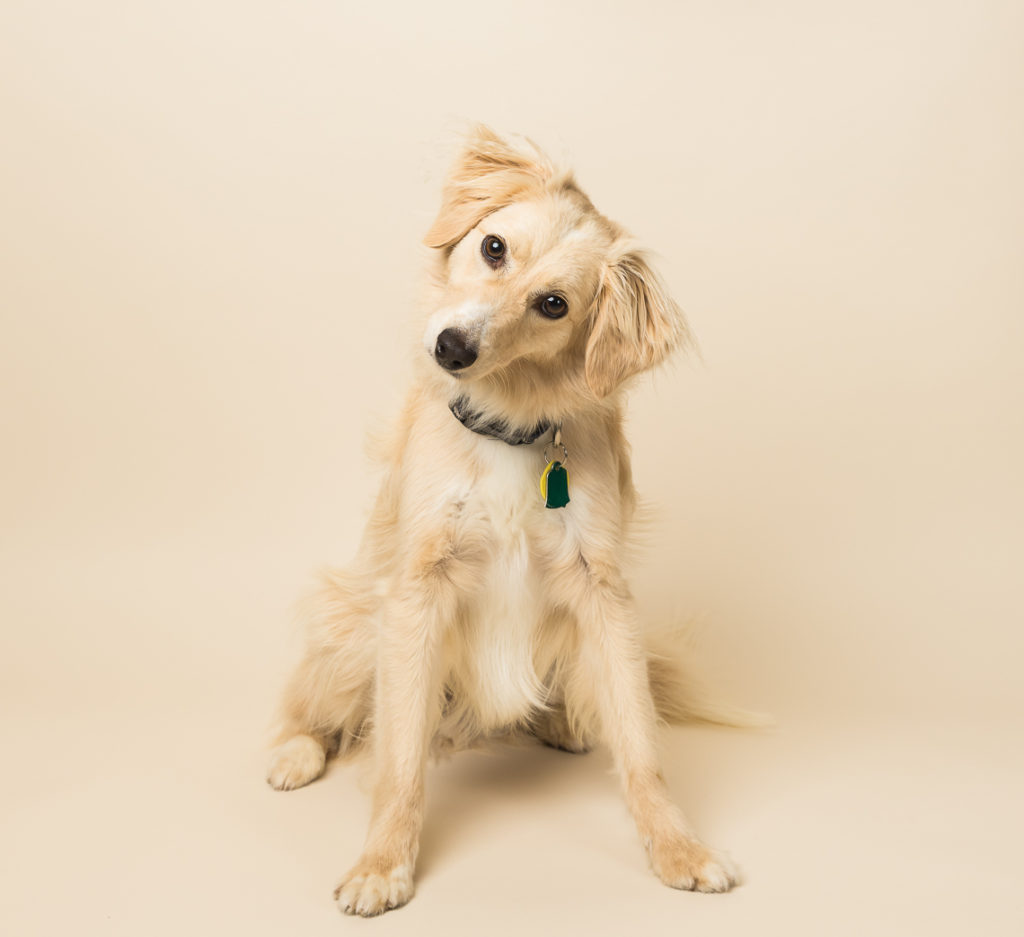
This is client Corey with a great head tilt.

This is Piper with an ever so slight tilt.

Below is what I call an extreme head tilt – love it!:

This is Ace – isn’t he gorgeous. And he blends so nicely with the bone background.

With cats, I don’t usually use noise makers as cats are more visual and will react to some type of movement.  At the shelter, I have a great assistant and she knows what to do.  But, sometimes, even though I may not use a noise maker, I do get an occasional kitty head tilt.

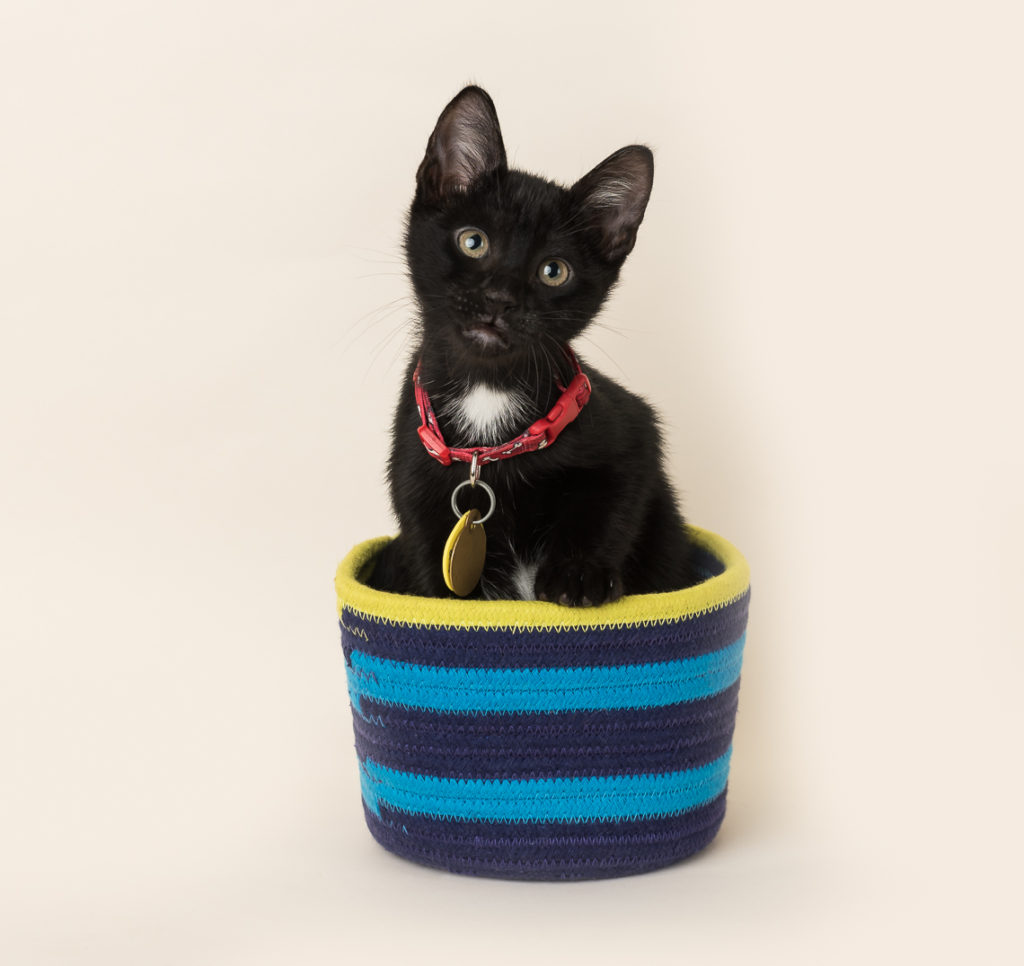
Below is what I would call a decent kitty head tilt:

Karlos, a cutie kitten with a slight tilt

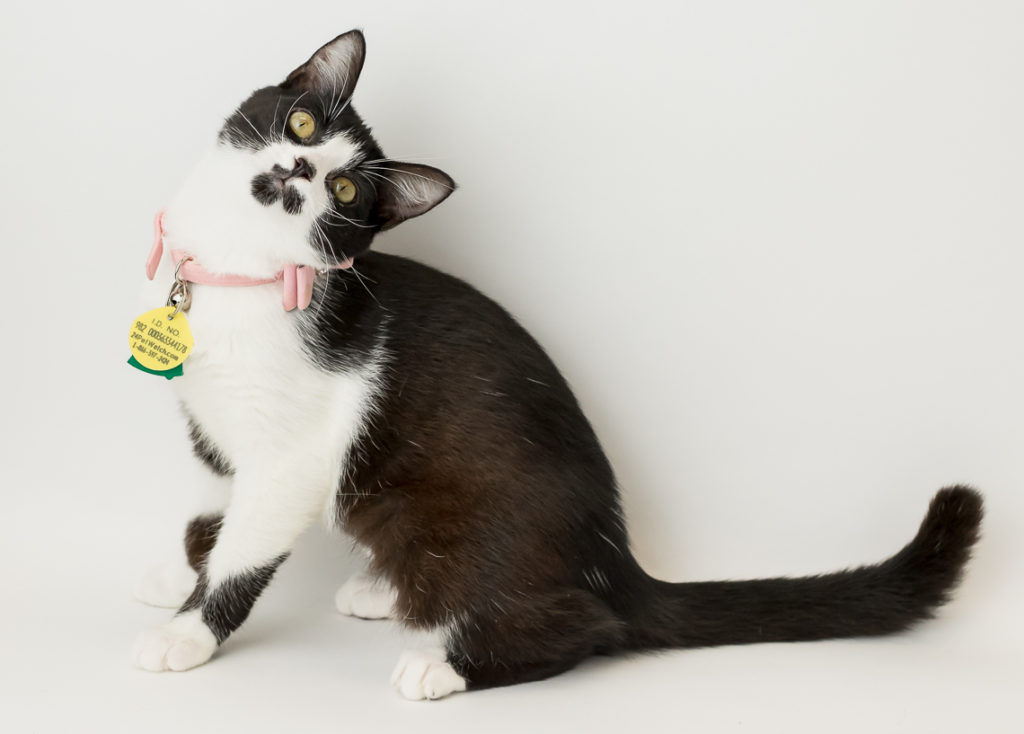
Below is definitely an EXTREME kitty head tilt:

This was Kimberly Hart. I’m sure she was looking at a moving something or other and just didn’t want to turn her body!

This was such a fun topic.  Now, move on to my friend Kim with BARKography based in Charlotte, NC and traveling the US and Canada for her entry.  I’m sure she has some great photos.


Ono-licious: A Healthy Hawaiian Recipe

If you are into food and what’s happening out there, epicurean-wise, have you ever heard of Dr. Terry Shintani?  Well, in Hawaii, he started his popular “Hawaii Diet” in the late ’90s.  He developed this diet especially for native Hawaiians who, unlike their ancestors, were obese (many morbidly), had high cholesterol and blood pressure.  He feels that people spend too much money fighting the results of a poor diet.  He looks on proper food as the best medicine and he promotes that medicine.  You can go to Amazon to check out his books, shown below (click on each one)


What I want to share here is, not the philosophy or science behind his diet which you can check out on your own, but one of the recipes (shown below) that I re-discovered.  You will notice that he doesn’t cook with oil or high-fats.  While getting used to this may take time, both my husband and I enjoyed this one from the get-go.  Try it…. it’s ONO-licious!

POTATO ZUCCHINI STEW  (from the  “Eat More, Weigh Less” Cookbook)

1-1/4 C            Onion, chopped

1 stalk             Celery, chopped

2 C                  Potatoes, cubed

¼ C                 Carrots, sliced

½ C                 Broccoli

½ C                 Zucchini, sliced

½ C                 Kale

¾ C                 Vegetable broth

1 clove           Garlic, minced

½ tsp               Salt, or to taste

½ tsp               Paprika

½ tsp               Dill

¼ C                 Red Wine

1-1/2 Tbsp      Tomato Paste

Olive Oil Cooking Spray

Spray nonstick skillet with olive oil cooking spray and heat.  Saute onions for 5 minutes in 3 tablespoons of vegetable broth.  Add remaining ingredients and cook for 10 more minutes or until done to taste.  Makes 2 portions  (1 portion – 338.9 calories, 1.4 grams fat, 12% protein, 79% carbohydrates, 4% fat)


Project 52: Catchlights

This week’s topic is Catchlights. I never realized it until recently, but I am obsessed with making sure the pets I photograph have catchlights, even if I have to add them myself. Just a little light can add so much personality into the shot.

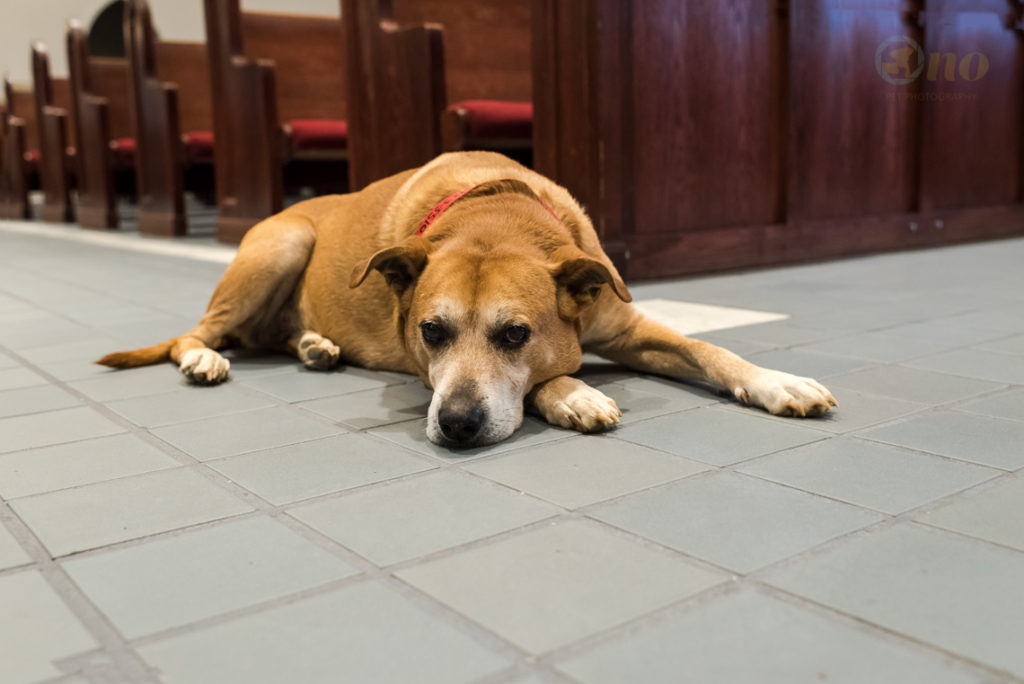
Below are two photos… one without catchlights and one with. Sweet 11-year old Oscar has very dark eyes and they just don’t grab the light easily. My own dog is the same. I learned in a workshop I attended last year that you can further enhance existing catchlights (very subtly) by using the history brush tool in Photoshop. We were actually in a church and a flash would have added those needed catchlights, but Oscar’s caretaker told me that he doesn’t like flash. So, what I did was use the clone tool and grabbed something light (either the white in his fur or the tile) and just dropped it lightly on his eyes. I think he has much more appeal with them.

Oscar with no noticeable catchlights

Oscar with catchlights

Kelly Garin Photography, Columbia, SC is the next one in this loop.  Click on over to see how she caught the catchlights.


Leading Lines: Project 52

One of the tenets of photography that can make a photograph compelling is leading lines… moving the viewer’s eyes toward the subject so as to spotlight the subject.  Leading lines can be anything… train tracks, an architectural design, buildings, roads, trees, or, a pier on a body of water.  This first photo has no pets, but it’s a great example of leading lines.  I attended a polo match that was raising money for the shelter where my camera volunteers, and took this photo of the entrance.  Believe it or not, this is private property, and it’s only the entrance!

The next photo is of Buddy, a recent client whose companions live on the Gulf of Mexico.  It was a beautiful day – one of so few these past several months – so putting him near or on the pier seemed natural.  I really wanted to place him in the center of the pier, but his owners said he didn’t like to go on the pier.  While the lines may not be “leading” by the strict definition, they do help to spotlight the dog. 

Let’s keep the loop going!  Go over to Linda of VPShoots Photography serving the Tampa Bay, Florida area and see her leading lines photos.

Project 52: Frames

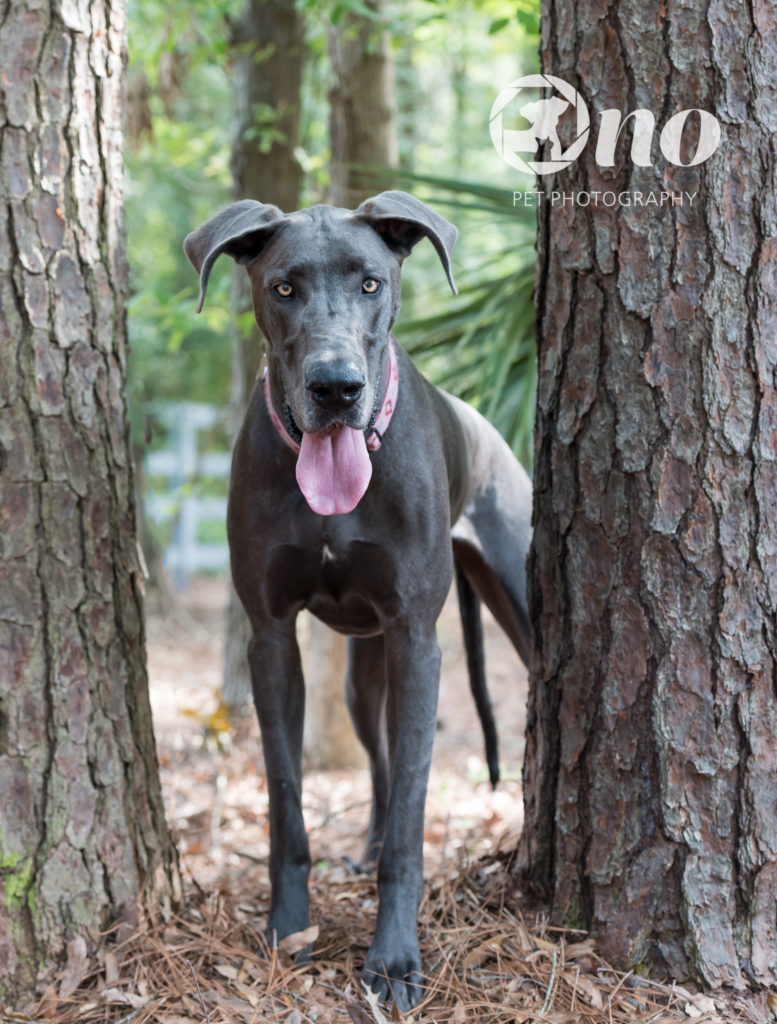
This week’s theme is “Framed”.  By definition, “framing is the technique of drawing attention to the subject of your image by blocking other parts of the image with something in the scene.”  I was photographying this gorgeous Great Dane, Reagan, at her parents’ home.  They had a lot of pine trees around the house and I saw these two close enough together to think they could frame this beauty.  The client loved it! 

Check out Elaine at I Got The Shot Photography, serving Northeastern Pennsylvania and surrounding areas to see her framed photo.

Project 52: Low Key

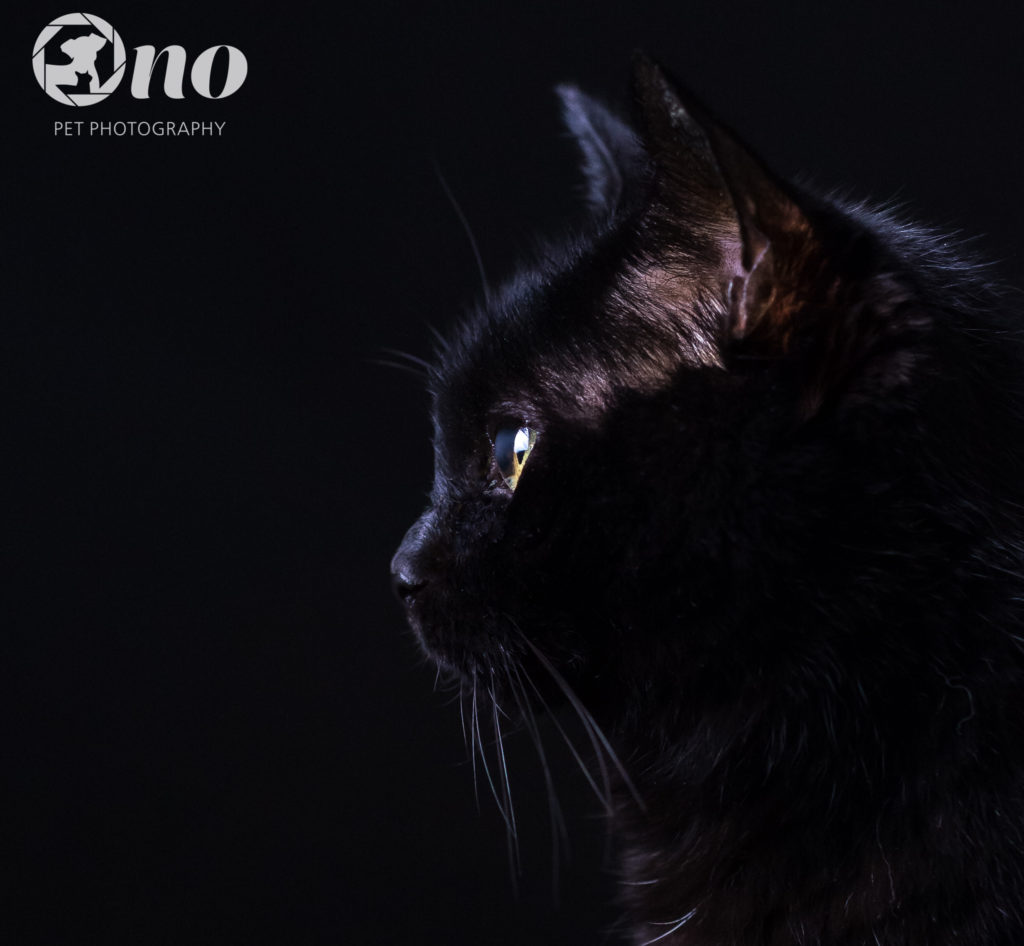
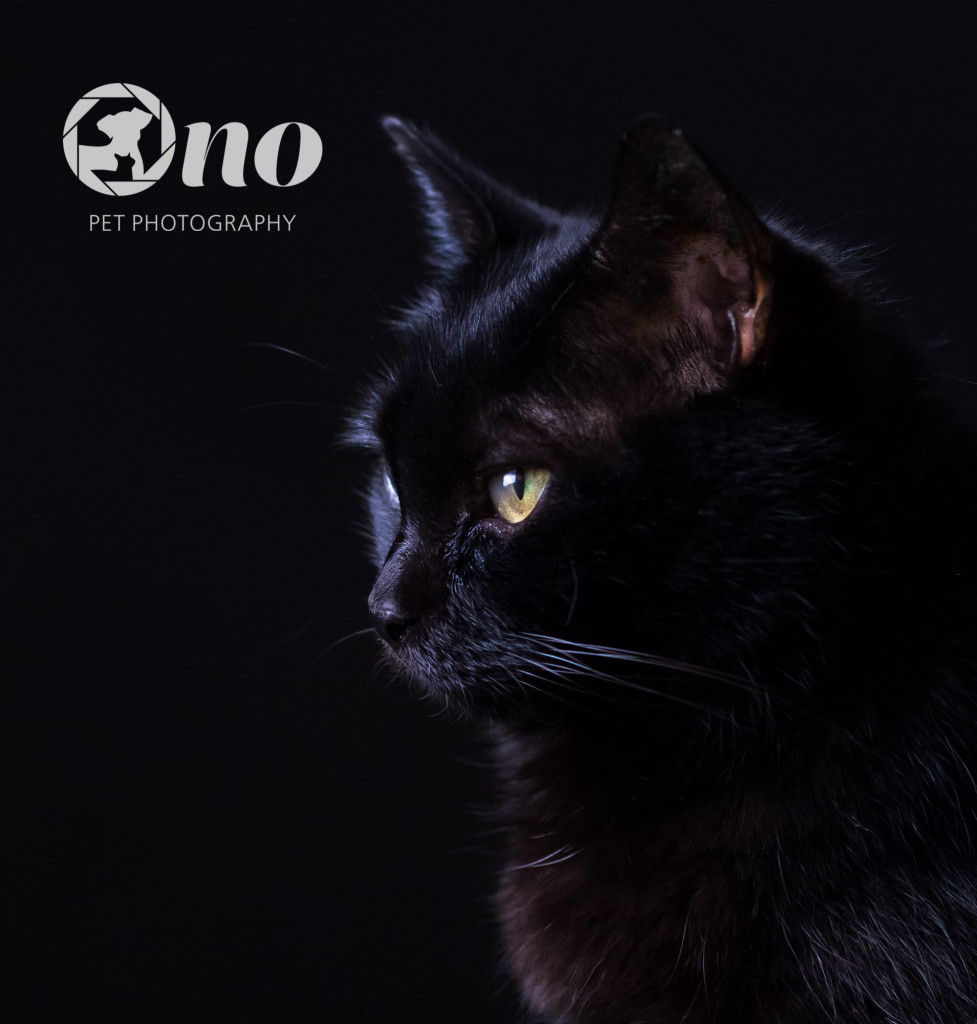
This week’s theme is Low Key.  Of my five animals, my black cat, Momi (mo-me.. means “pearl” in Hawaiian) is my most cooperative model.  She will stand where I place her while I attempt to get the shot.  This time, because she was black, I wanted to capture her black on black.  I placed a piece of black seamless paper on one of my walls, turned off the lights, and placed my TD6 light stand to the left of the set-up.  I turned off 5 of the lights, and placed the softbox so that the light kind of skimmed in front of her, not aimed directly on her.  Below are two results of that session.

Low Key can be so dramatic.  Head on over to Elaine at I Got The Shot Photography, Northeastern PA Pet Photographer to see how she interpreted the theme this week.