Project 52: Before and After

Several years ago when I started taking my photography seriously, I swore I would never use post-processing and always get it right in camera!!!  Right!  How naive!  It is something I still strive to achieve, but, of course, post-processing is a must!  Presently, I go between Lightroom and Photoshop to post-process.  Most is done in Lightroom, but I’m starting to use PS to remove leashes, blemishes, distracting background, etc.  I took an on-line course last year on PS Layers and do understand them a little better, although I should use them more often.

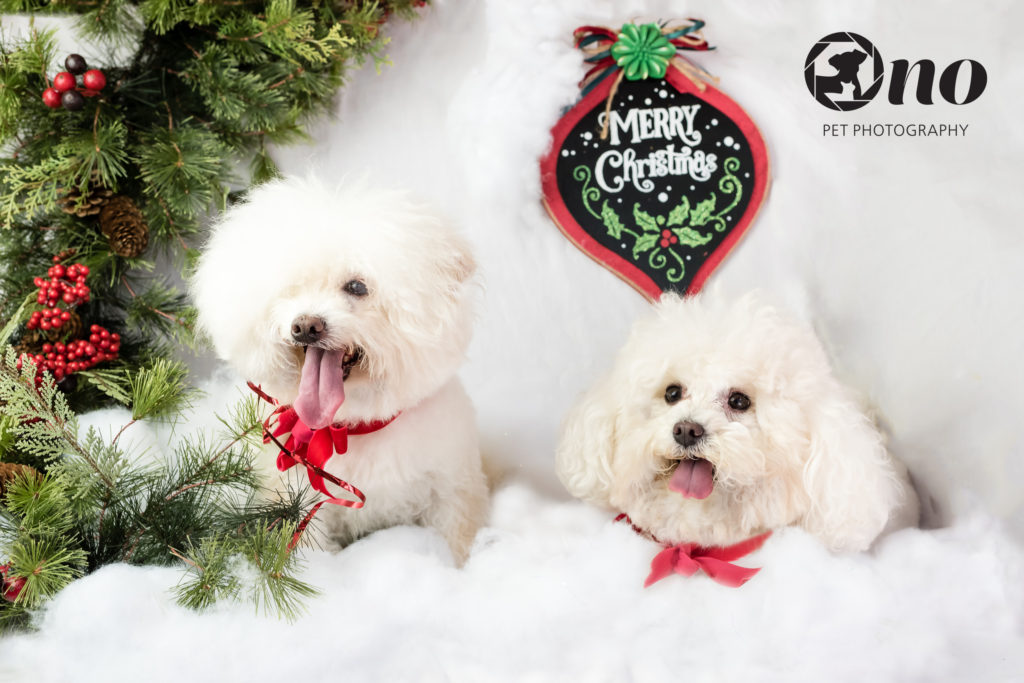
This past Christmas, I had a client who wanted to photograph her two white dogs for a Christmas card.  She owns a beauty salon and that’s where we took the photos.  She covered her small vintage-type couch with a white sheet, brought in some artificial greenery and holly, as well as a “Merry Christmas” sign.  She even put the decorative bows on her dog.  I picked one photo for the card and, below, is how it looked straight out of camera.  The client wanted a winter-type scene.  Well, we live in Alabama and a white winter doesn’t happen.  I found a product called “Twinkle Blanket” (similar to fiberfill) from Hobby Lobby and fluffed it on the couch.  We then placed the dogs on the couch.  Well, one starting to eat the “snow”, roll around, and, well, just be a dog.  So, as you can see, there’s very little “snow” left.  But I liked their expressions, they were close together (as opposed to on either side of the couch), and they were looking up at the owner.  But I had to do a lot of work.

In PS, I cloned a lot of the “snow”, smoothed out the wrinkles, and cleaned up the dogs, using Spot Healing Brush, Patch Tool, Clone Tool, etc.  The dog on the left, Ruby, only has one eye.  But in this photo, that one eye was covered by her hair.  So I copied a more visible eye from another photo and placed it over the covered eye in this one.  Also, the dog laying down, Moonlight, had a bow that was hidden by the “snow”.  I did the same thing and copied a more complete looking bow and inserted it in the photo.  The result is below.

The photo below is a scan of the card.  (NOTE:  Just in case you wondered, I did not have the watermark on the card)  Perhaps to some in this group this is no biggy and I’m sure you might see where I could have done it differently or better.  But to me it was a huge accomplishment, and the client was happy.

Click over to Linda of DogShotz Photography serving the Indianapolis IN area to see their take on this weeks’ theme.

Project 52: Different Perspective

The topic this week is  “Different Perspective.”  As a photographer, we try to get the best composition before we snap the shutter.  Often, we get frustrated because it just doesn’t seem to be the right one.  Many times, just composing the photo from a different angle,  or the photographer physically moving a few inches either way can make a great difference.  I took an e-photography course last year and the instructor told us to, occasionally, look down.  For that class, I got on a very high ladder and snapped the foliage in my backyard.  Let me add, that I very seldom do this and it tells me that I should do it more often in my sessions.

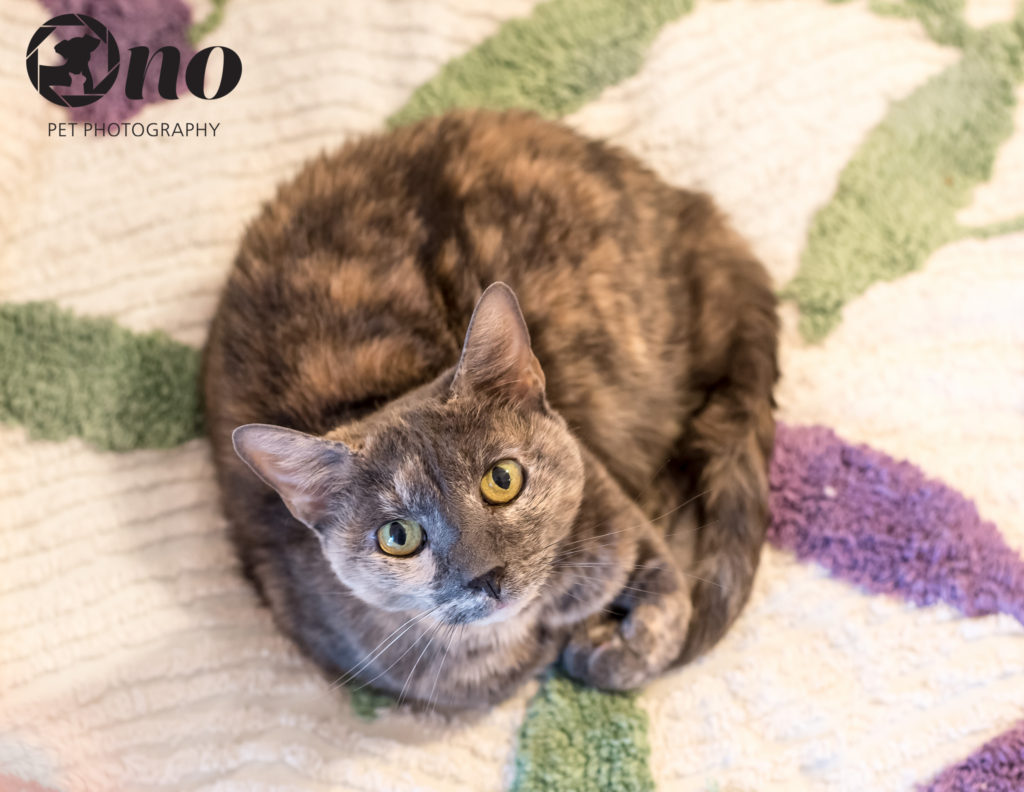
For this week’s theme, I just stood on a chair and hovered over one of my cats, Misty, as she was sleeping on the bed.  I got her to look up and the result is more interesting than if I had just put the camera on the bed in line with her face.

Head on over to Dog Shotz Photography serving the Indianapolis IN area to see their interpretation of this week’s theme.


Project 52: Negative Space

Negative Space is the topic of the week.   Negative space can be defined  as “the empty or open space around an object that defines it.”  I don’t think my selected photos are a true example of negative space as there is something in that area, but busy week, so I grabbed this one as a possible example.

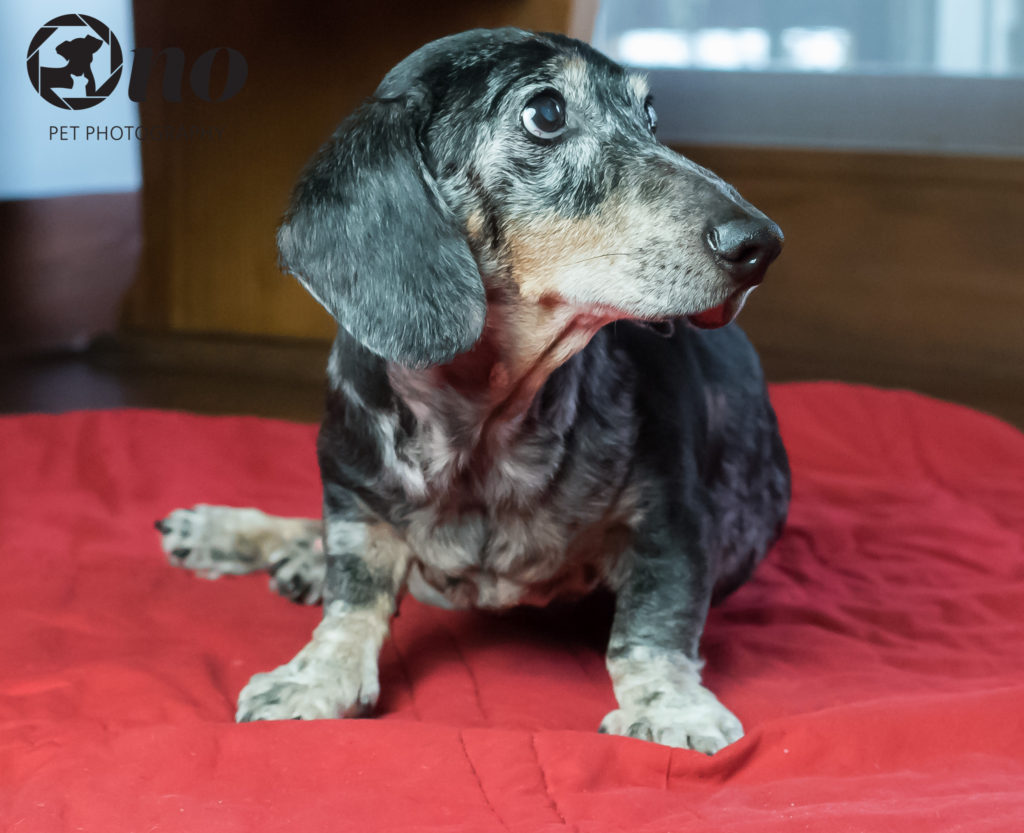
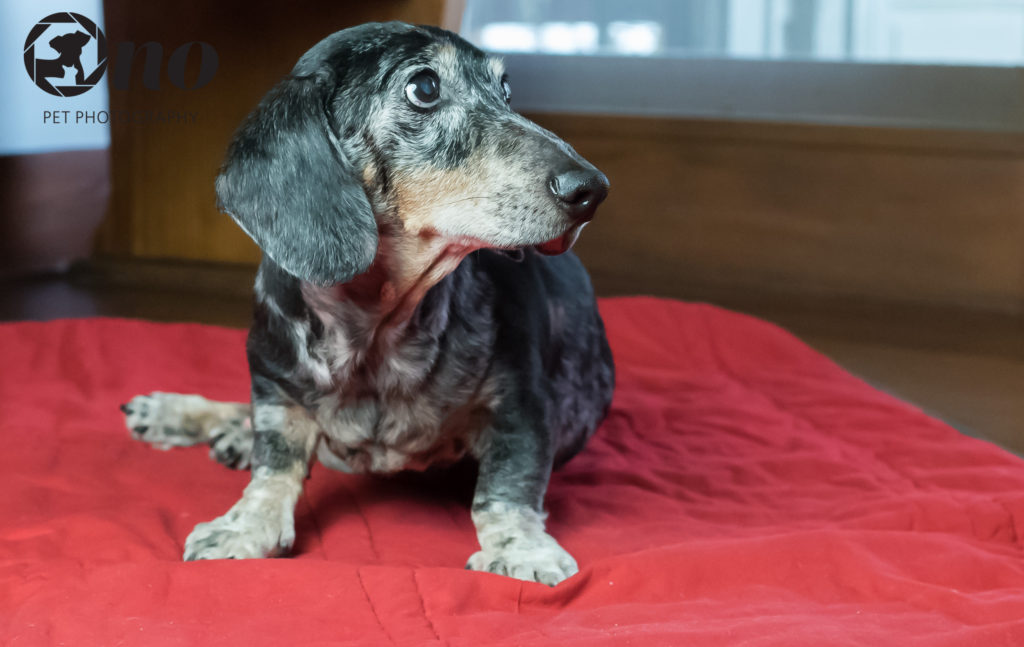
Just a few days ago, I photographed Glenn, a senior dachshund (about 17 years old).  This little guy can’t walk well and is incontinent, but he still has a lot of energy.  After trying, not too successfully, to take some photos on a bench, the owner suggested putting him on the floor.  Shortly after she did that, he looked up at her and I knew I had a good picture.  Have not yet finished the post-processing, but the direction of his eyes told me a bit of space was needed.  Below you can see the difference from the two different crops.  I favor the second one as it tells a bit of a story.  Those eyes seem to be asking: “Why am I down here?”, “What do I do now?”

Cropped close….


Cropped with a bit of space….


Head on over to Natural, Playful & Soulful Pet Photography in Melbourne, Australia to see their take on negative space.


Project 52: Black and White

This week’s theme is “Black and White.”  I think the first thought is a photo converted to black and white.  Below is one I took of my dog several months ago.  Rather moody and not really typical of what I do.

However,  I wanted to be a bit creative.  I have a black cat who is really a fabulous model.  I taped a piece of white background paper to a wall,  and then positioned a small piece of black backdrop paper in a “diamond” shape over that. NOTE: It’s not perfectly symmetrical so no need to tell me that.  I purchased a black/white throw (lots on sale now at the discount stores) and put it over a bench.  I recently acquired various colors/designs of ties that a cat or small dog could wear, so I selected a black and white tie.  I had originally wanted to photograph my black cat with my white/black cat who actually has more white than black.  However, this white/black cat is very skittish and she wouldn’t in any way sit still.  So I used only my black cat.  I placed a TD5 light stand on the side.

That’s my interpretation this time around of “Black and White”.  Click over to Bark & Gold Photography to see their interpretation.


Project 52 – NEW

I’m finally back in the groove with Project 52.  I’m determined to continue thru 2017 – at least I’ll try.

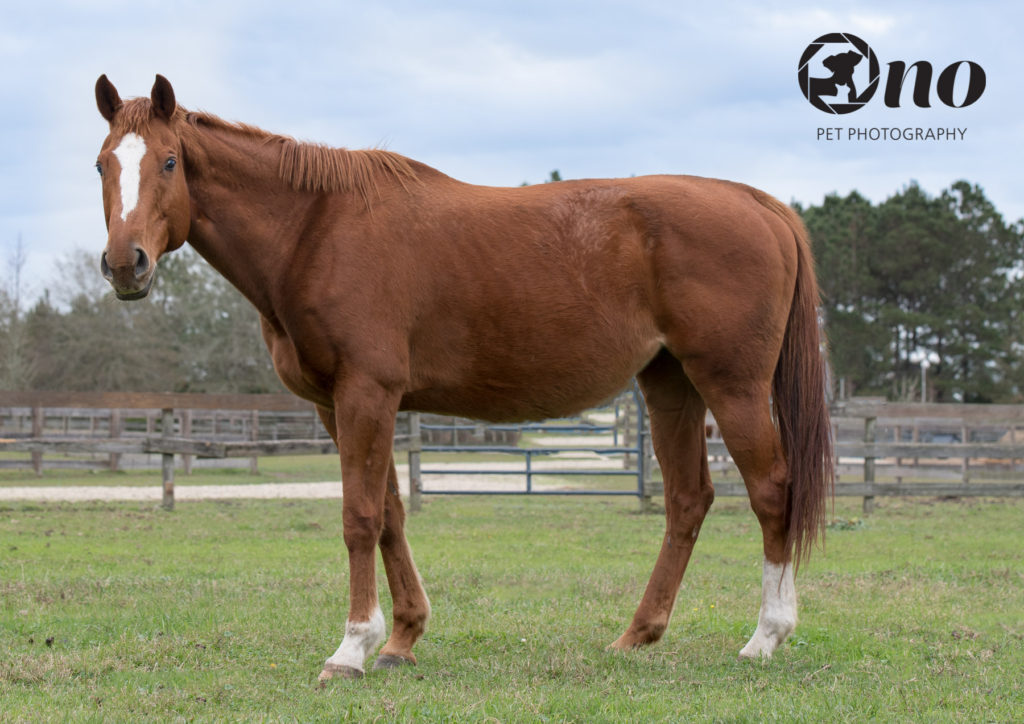
New.  So many ways to interpret.  My first photo below was taken on the last day of 2016.  I classify it as “new” since this is my first full-bodied horse shot.  Although I say first, I have attempted horse photos in the past.  With my dog and cat photos, I tend to shoot close with my 35mm.  Did a little research before I shot this photo and one writer suggested to use a 70-200mm lens to shoot horses.  So, I did.  But my habit of getting close is hard to break, so many of the photos I shot that day were only half, or 1/3 of the horse.  In and of itself, they weren’t bad, but I wanted that full-body shot which I finally achieved with this one.  It’s not perfect, but not bad.

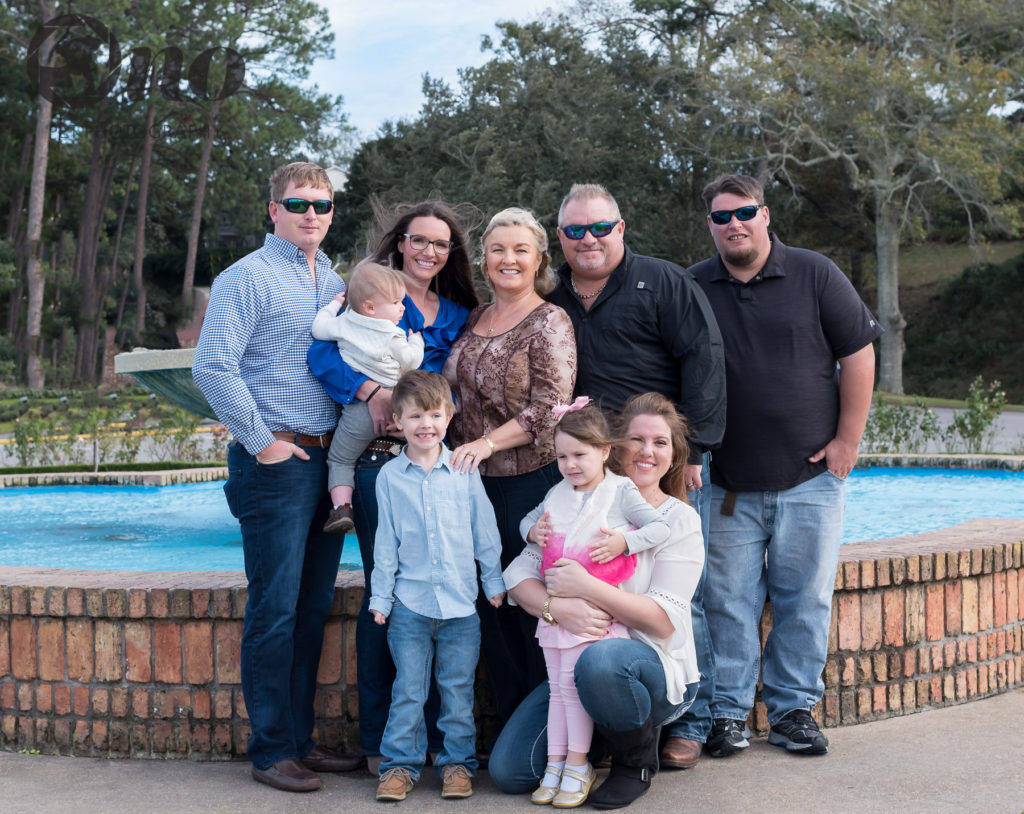
The next photo is only of people and not pets.  But I wanted to classify it as “new” since I broke thru my fear and trepidation to take it.  A photography friend of mine had a family emergency and had to go out-of-town.  He was able to reschedule all his shoots, but this one.  I initially hesitated since it’s not my usual thing, a group of people.  Plus, I always meet the people (always with their pets) before hand,  scope out the area, etc.  Wouldn’t be able to do that this time since it was the next day.  Seems that the grandparents would be returning to Florida the day after the shoot, which was Dec. 29 so they could not change to when he would return.  He asked me to take the pictures and he would post-process them when he returns.  Like I said, I was very hesitant, but the fact that he knows a lot of other photographers but he asked me, made me think that he has faith in what I could do.  The way he explained it via FM messaging,  it would be the grandparents and their daughter who lives locally.  Well, it was those three, plus their other daughter, their two sons-in-law and three grandchildren.  NINE total!  Plus, it was very windy, chilly, and a bit overcast.  Plus, one of the children decided that she didn’t want to cooperate, would rather run around, and didn’t want to even look at the camera.  Now, if this were a dog, the owner would put a leash on the dog.  Couldn’t do it this time!

This does not mean I’m going to start including family pictures in my portfolio.  I prefer pets and will continue that way, incorporating people now and then with their pets.  But I’m proud that I overcame my fears and just pushed thru it.

Please move on to Pet Love Photography, serving Greater Cincinnati and San Francisco to see how she interpreted “New”.


The story of a photo session

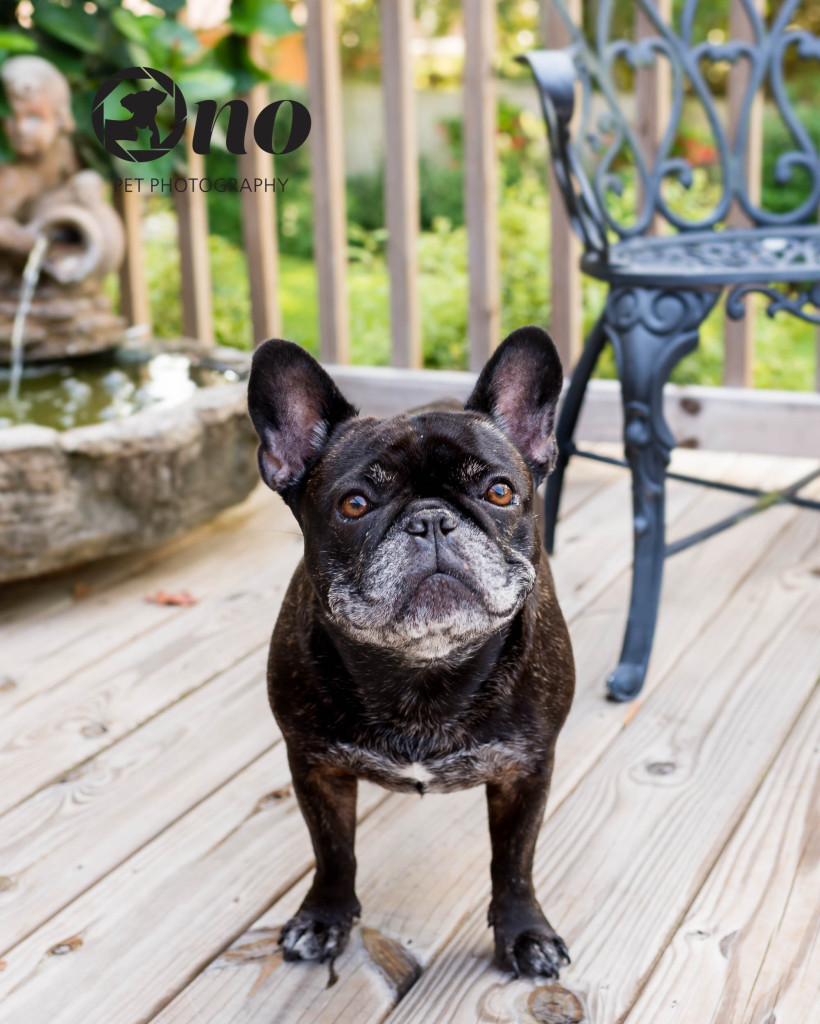
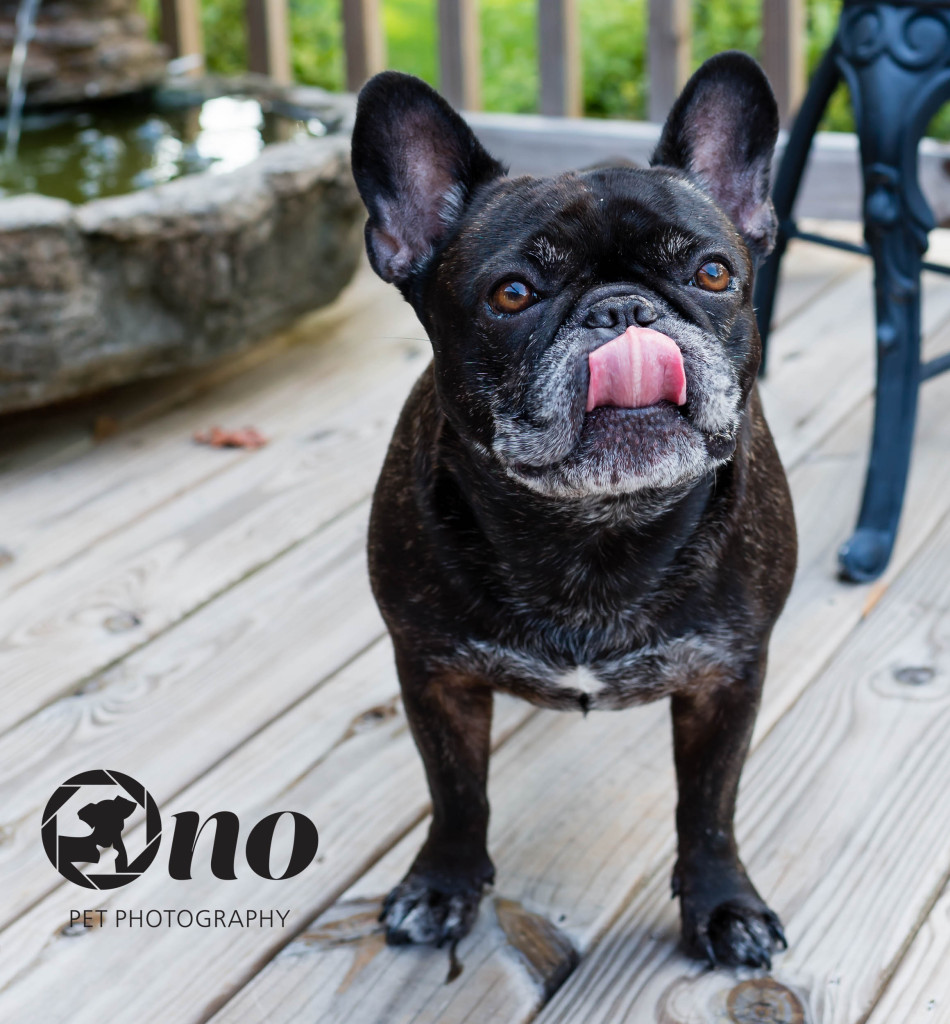
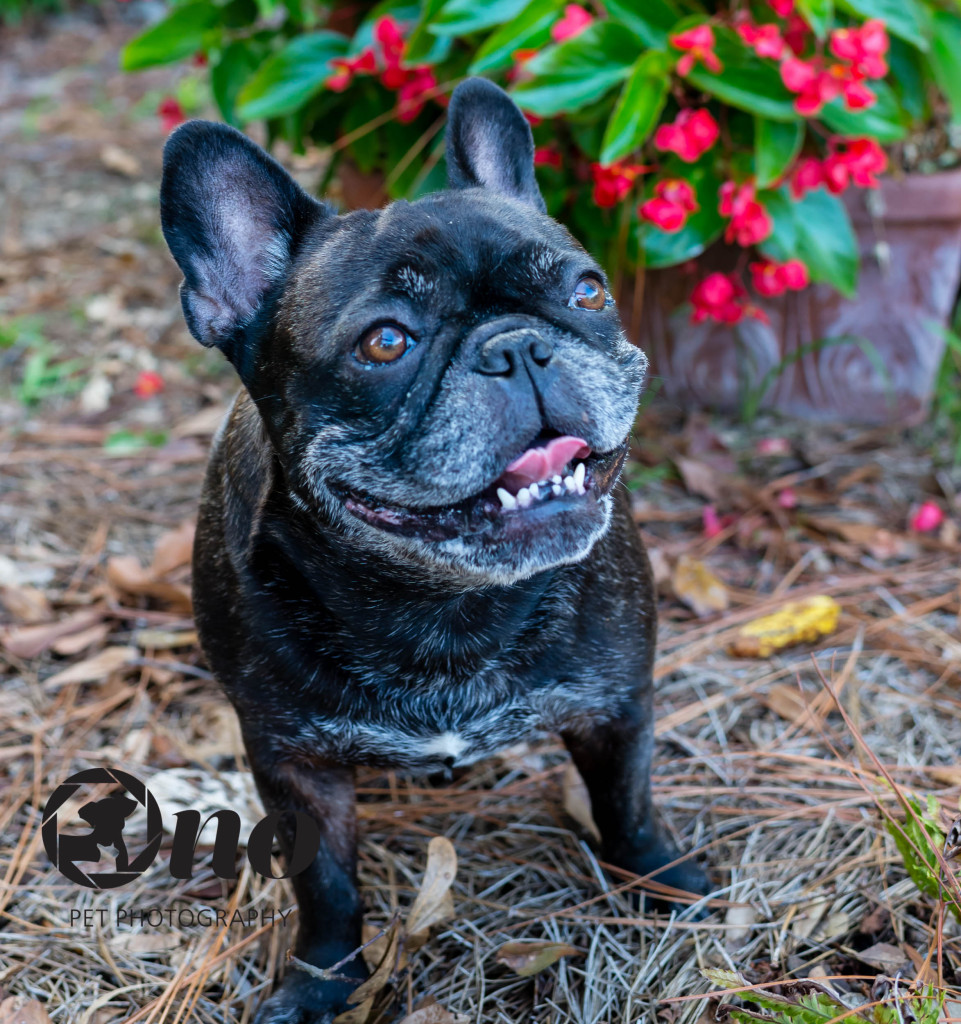
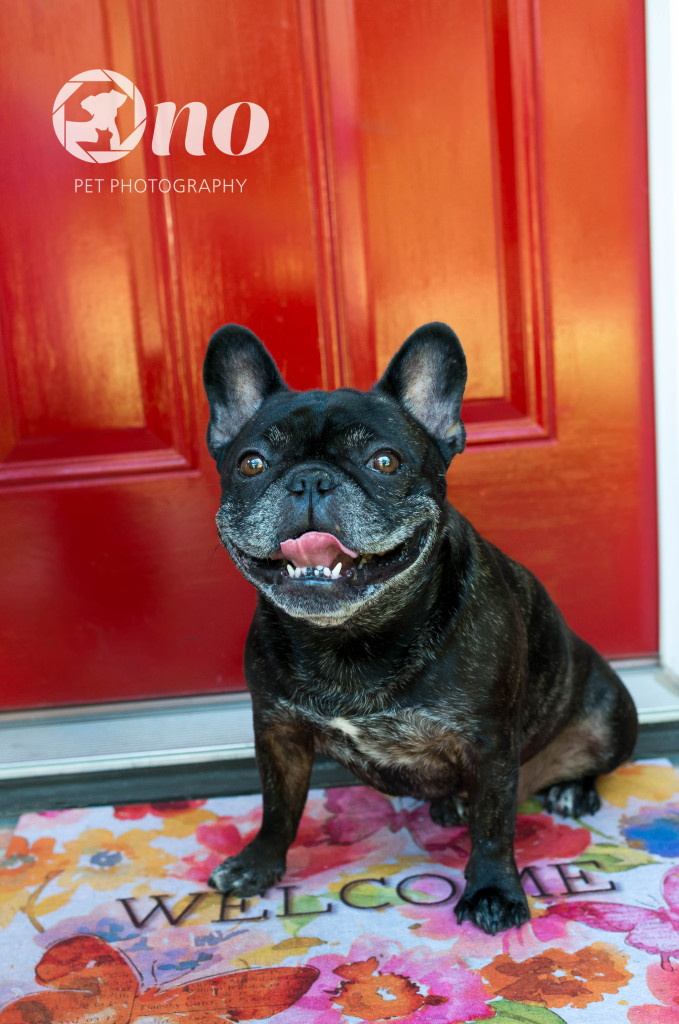
Not too long ago, I took a photo that was going to be displayed at a local business.  The family had a gorgeous French Bulldog and I was excited to go and shoot the photo.  The husband was on the front stoop with the dog when I pulled in.  I immediately noticed the front door and thought that would be a great place to take a photo.  However, the husband had another idea so I followed him to the backyard.  It was obvious he was proud of the backyard and commented that his wife worked very hard in how it appeared.  It was lovely.  Pots of plants, flowers, walkway, deck… everything was there.

When taking a photo of a pet, I always strive to take a unique photo where the pet will shine.  Below are some of my beginning shots and they were fine, but my gut said “it could be better”.

Nice, but nothing pops...
Nice, but nothing pops…
The tongue is cute and is definitely the dog, but ....
The tongue is cute and is definitely the dog, but ….
Now, this could be something with a little bit of color, but ....
Now, this could be something with a little bit of color, but ….

I finally suggested to the husband to try the front door.

Red
THIS IS IT!!

This is the process I go thru in taking those special pet photos.  I hope to meet with the client before the shoot, but this time I wasn’t able.  But it worked out and the mounted photo was on display for several months at a local business whom I partner with.

Call Ono Pet Photography at 251-490-5282, [email protected],  or go to my website’s “Contact Me” page to arrange for your own furbaby’s WOW portrait!


Project 52: Use Tighter Apertures to Deepen Focus

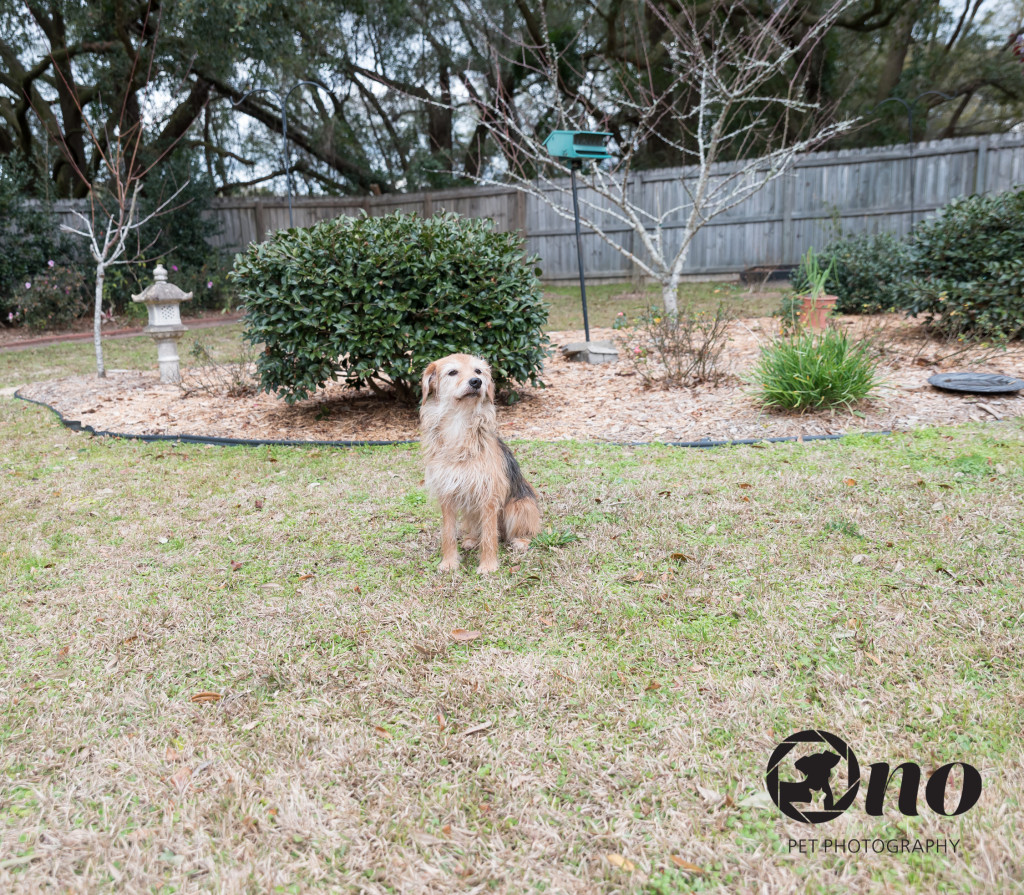
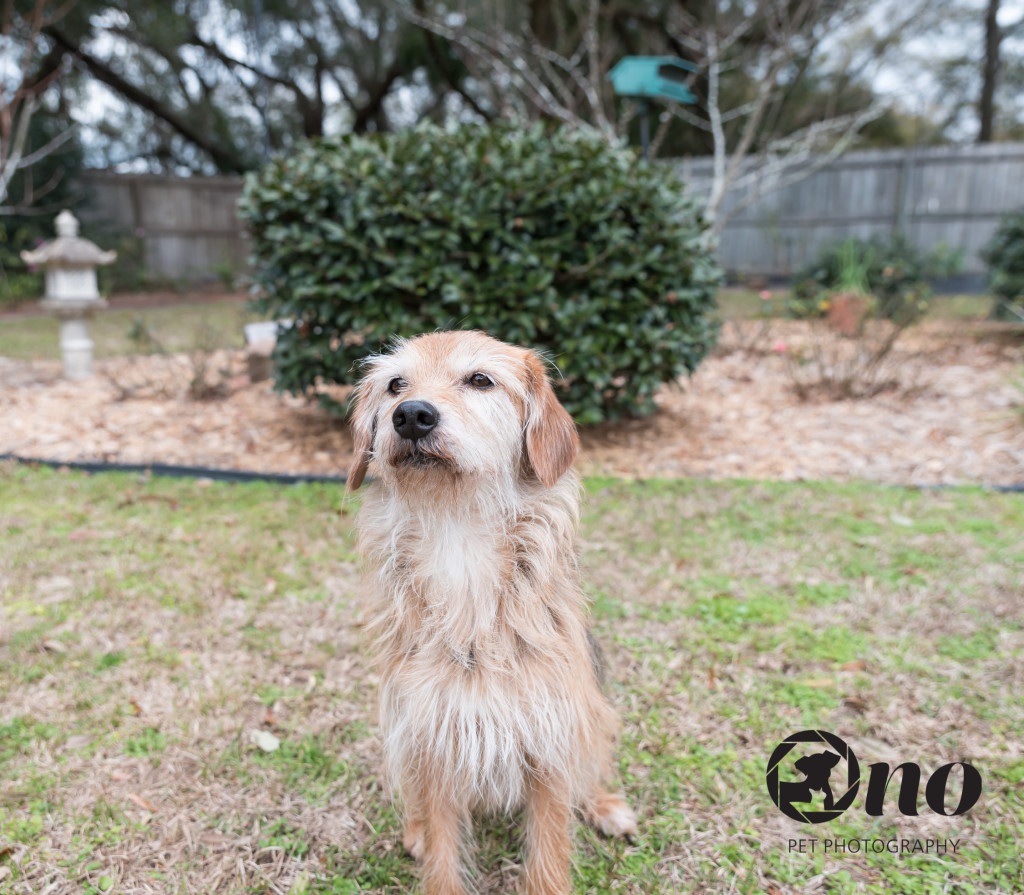
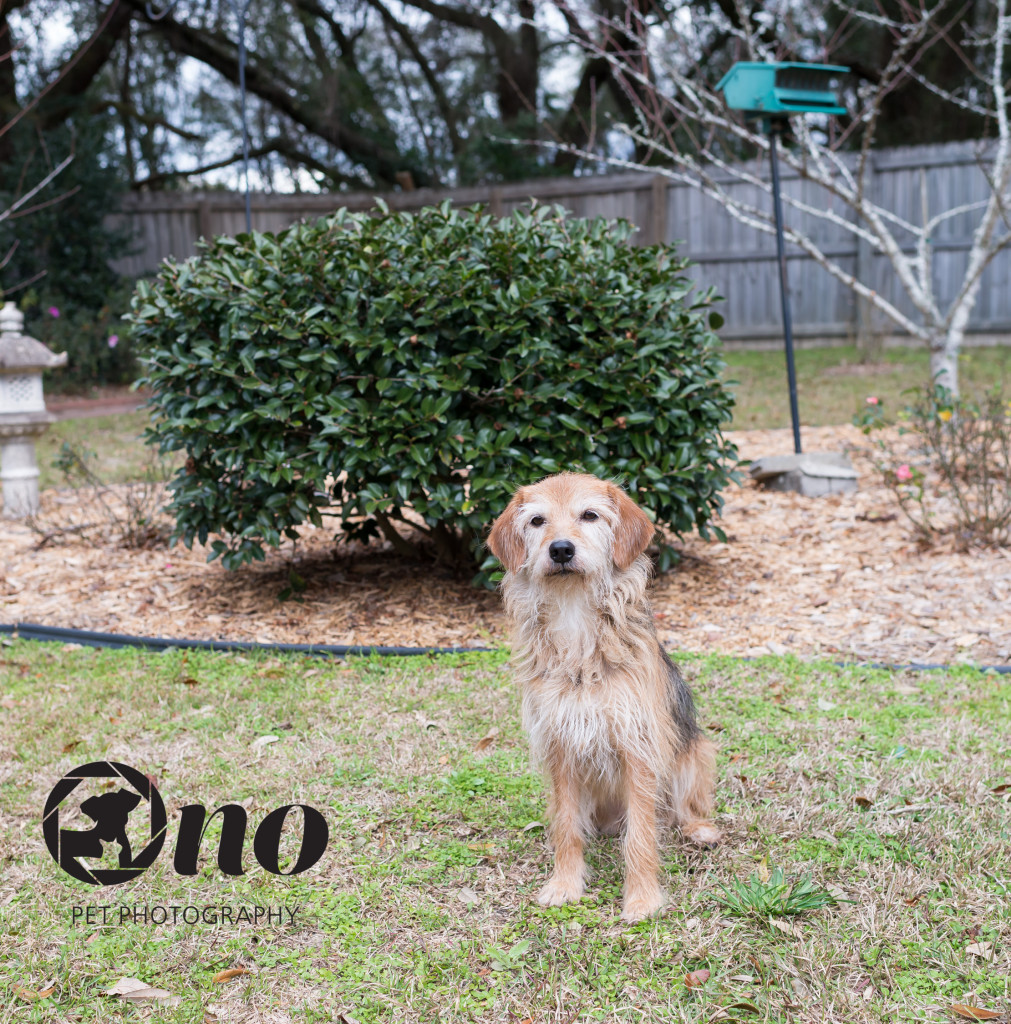
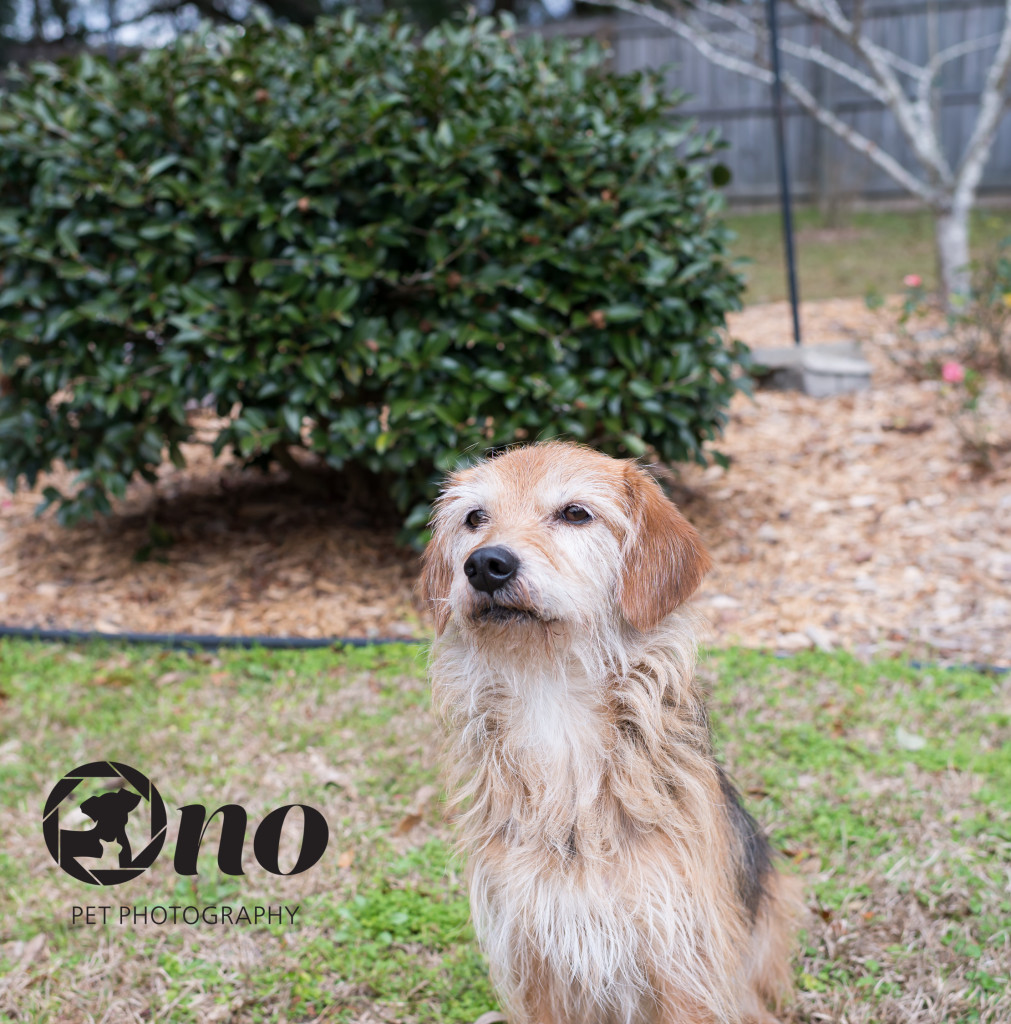
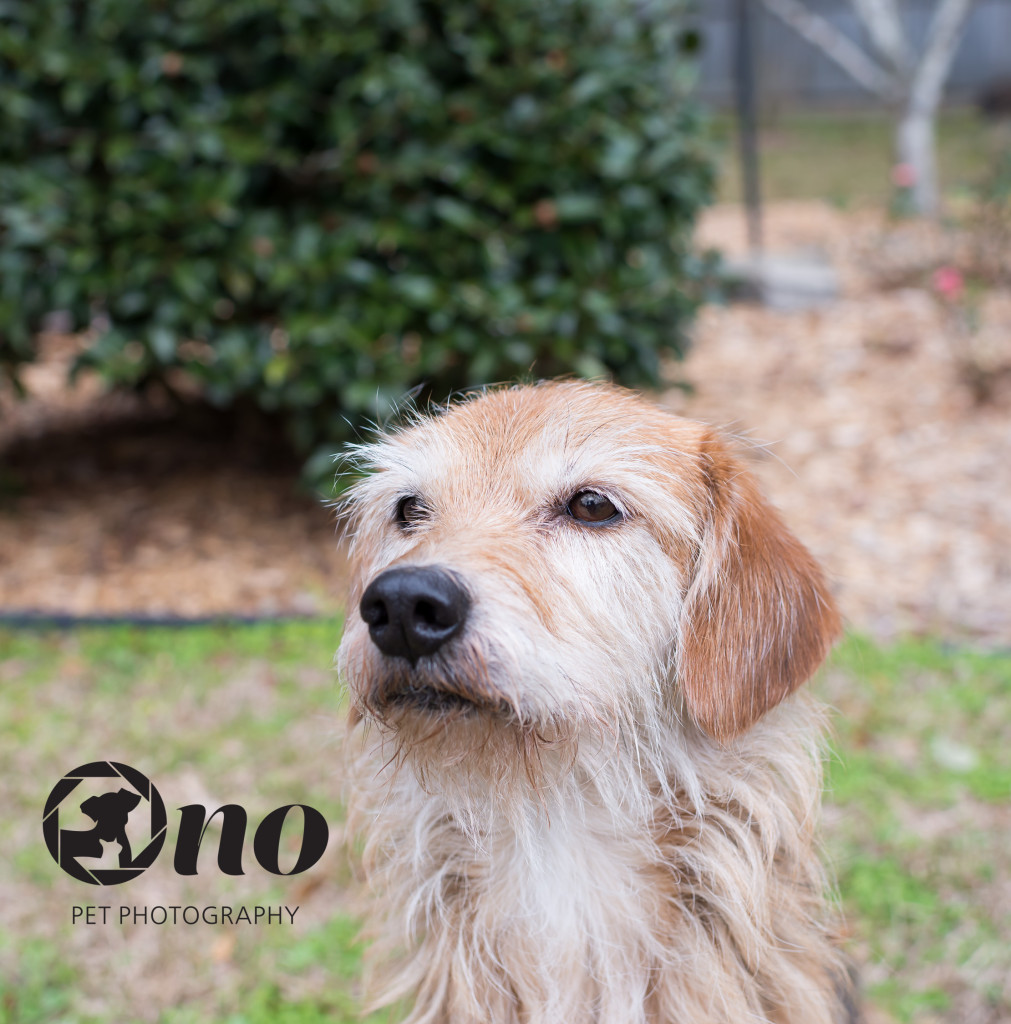
This week’s assignment from “The Visual Toolbox” is utilizing tighter apertures to deepen our focus.  As a pet photographer, I tend to go for the wider apertures (1.4-5.6) in order to isolate my subject since I always am looking for that wonderful “bokeh” that we all love.  But DuChemin says that such a blur, which is actually due to a  short depth of field, can be overrated.  And sometimes, while striving for that short depth of field, some important items can be blurred and, hence, deemed not as necessary to the story.  We were told to shoot with an aperture of f10 and adjust the speed accordingly.  When I kept the ISO at 100, the speed was really slow, so I upped the ISO, ultimately, to 640 so that I could get a speed of 1/160.  I took nearly 2 dozen photos of Chloe in front of some bushes in our yard and everyone of them had Chloe very sharp.  The composition of all of them may not have been to my liking, but they were all sharp.  While there was no severe bokeh, there was a slight blur.TightApertures_Chloe

Now click over to Northeastern PA Pet Photographer, I Got The Shot to see how they did this week’s assignment.

Project 52: Isolation: Use a Longer Lens

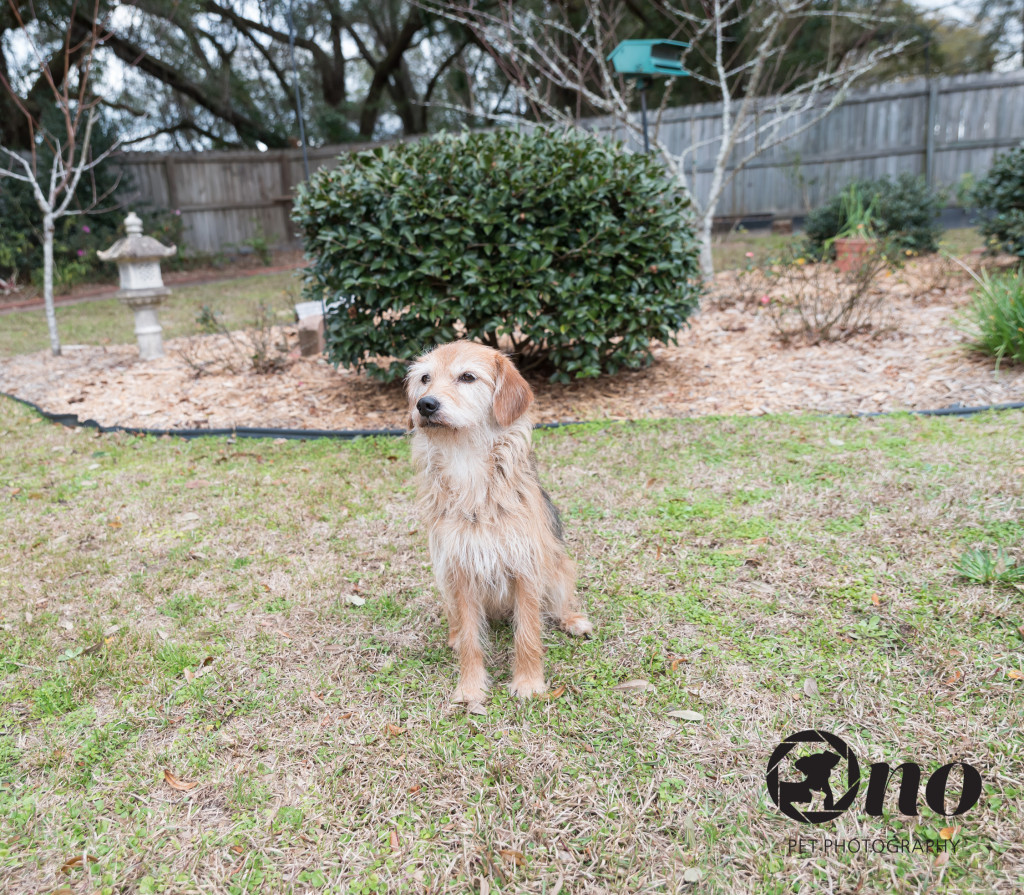
This week’s assignment from “The Visual Toolbox” asks us to show how we isolate our subject by using a longer lens.  Although my go-to lens is my 35mm f1.4, I have been trying to more frequently use my 70-200mm.  Below is a photo I took of my Chloe in the backyard.  I was about 6 feet from her while she was about 10 feet from the house.  The only reason she stood still was because I tied her to a tether screwed into the yard with a tempting treat in my hand!  I was at 200mm and I love the background blue.  I had done the same thing the day before, but tied her to a tree that was up against the house.  Realized that she was too close to the background to get that blur.Isolation-Long Lens_Chloe

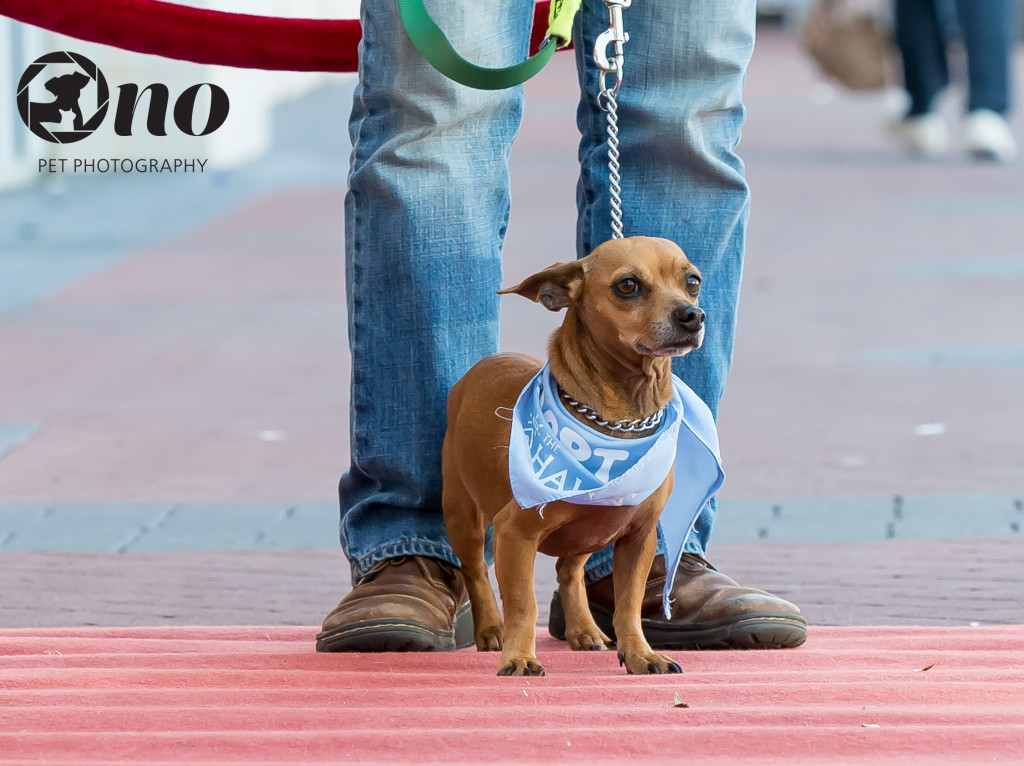
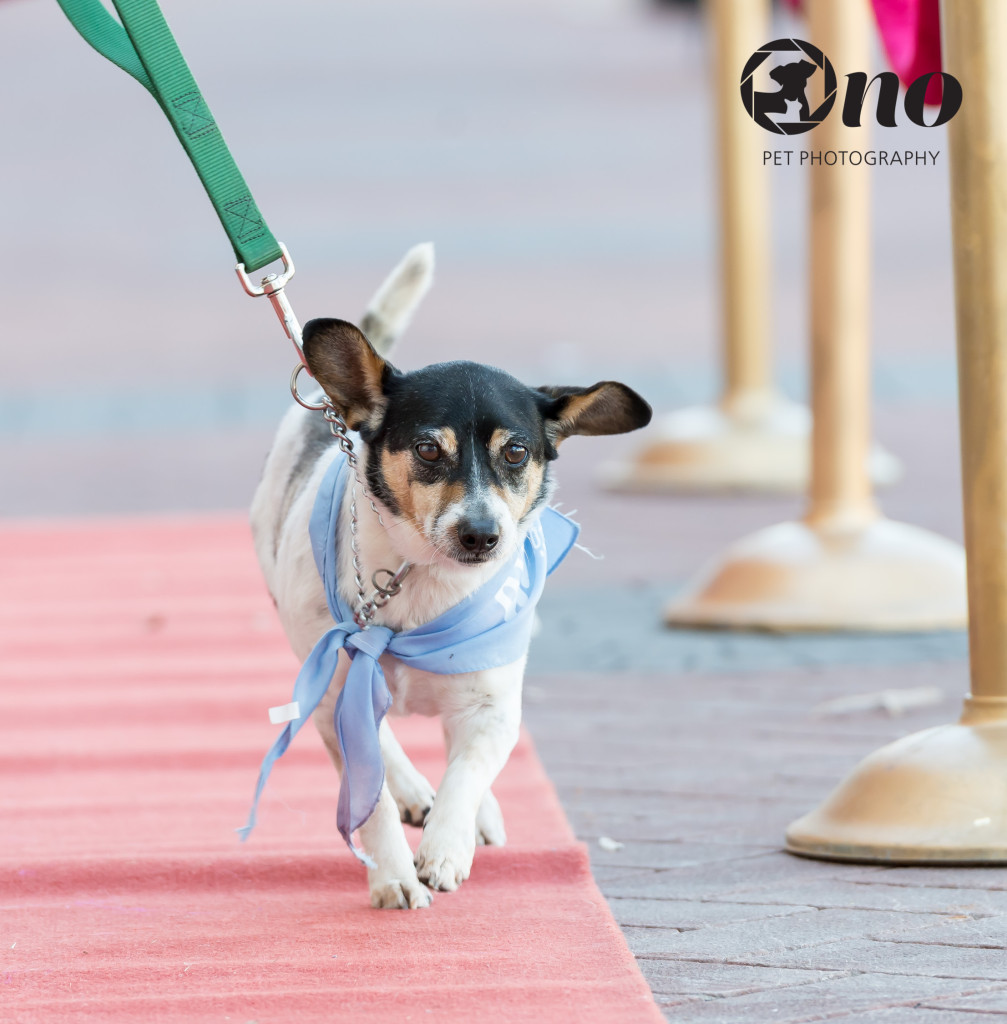
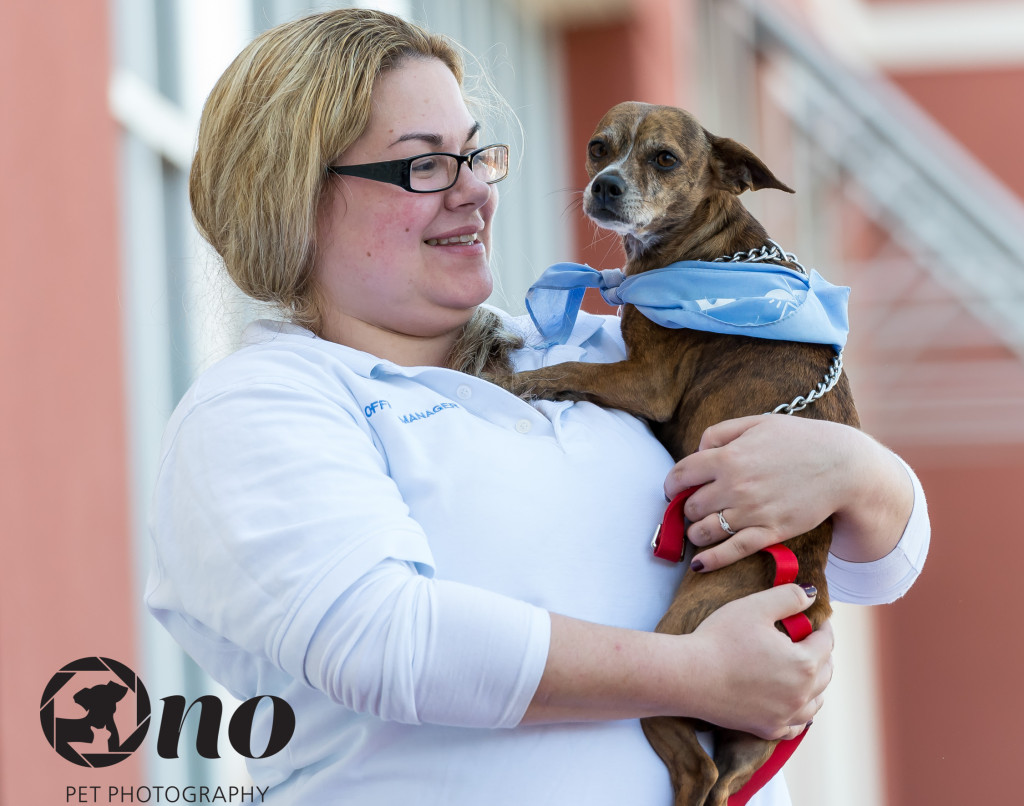
Below are a few photos I took at a recent pet adoption for The Haven, the no-kill shelter I partner with and for whom I weekly take photos of their pets to showcase them for adoption.  These photos were taken on the “red carpet” that The Haven frequently does at some of these adoption events to spotlight the dogs to the people in the shopping area, complete with speakers and really creative descriptions of the dogs.  I love the one below of the little chihauhau mix in front of his handler – gives one a sense of size, eliminating the unnecessary items, but yet showing the “red carpet” and the velvet “rope” behind the handler.  Photo was taken at 120mm. RedCarpet_Castana

The other two photos below are both at 200mm.  The one with the dog walking eliminates the surrounding, yet shows the “red carpet” and the stands that hold the velvet rope.  I was sitting on the ground when I took the photo of the girl holding the dog (some dogs want to be held when walking the red carpet!).  Even though she was not that close – about 10 feet or so – I was able to eliminate the surroundings so much that you couldn’t really tell it was a red carpet, but you could still tell you were in front of some type of building.RedCarpet_Alice RedCarpet_Dog_1

I love to take photos using the 70-200mm lens ’cause I like how it isolates the subject.  But it’s a heavy sucker, so I have to do my exercises to build up the muscles!!!!!

Click on over to Future Framed Photography to see how she isolated her photos using a longer lens.

Project 52: Wide-Angle Inclusion

The task we had this week is Chapter 10 of “The Visual Toolbox”, namely, Wide-Angle Inclusion.  We are to use a wide-angle lens, but not wider than 14mm nor fish-eye and give examples of the types of composition you get at various distances.

My go-to lens for the past year has been the 35mm prime.  I use it for almost everything.  All my shelter photographs are shot with that lens, pretty much all events are shot with that lens, and most of my client shoots are with that lens.  Why?  It’s sharp, it’s clean, and I get a lot of exercise by physically using my legs to zoom in and out with that lens.  While the exercise is a residual effect, your legs are the zoom feature of a prime lens.  For this assignment, I also used my 24-70mm lens, but stayed at 24mm.

The first set of photos below are of my Chloe using the 24mm lens.  For the first shot, I’m about 6-7 feet away from her.  For the second shot, I’m about 3-4 feet away from her.  For the last shot, I’m about 2 feet.  My only crop was the left and right, not the top and bottom so that you could still see the result from the particular distance.  You can see that there’s still plenty of unnecessary background with them, even the 3rd one.  I probably could have lowered my aperture and went a little closer to get close for a blurred background I would have preferred.

I'm about 6-7 feet away from Chloe
I’m about 6-7 feet away from Chloe
About 3-4 feet away from Chloe
About 2 feet away from Chloe, enough that if I reached out I could touch her

For the next set of photos, I used my go-to 35mm lens, at the same distances.

6-7 feet away
6-7 feet away
3-4 feet away
3-4 feet away
About 2 feet away
About 2 feet away

For my purposes, based solely on these photos, I prefer the 35mm as it spotlights Chloe better.  Of course, everything depends on what I would want to include in the photograph.    If there had been a fabulous background and want to spotlight her in that background, then I might have gone back farther and not be so close.  Also, by not zooming, there isn’t that much compression.  However, for both lenses kept at 24mm and 35mm respectively, I had to use my legs to zoom in and out.

Now click over to Pets We Love, Toronto & Collingwood Ontario Pet Photographer, Cynthia Wood for her take on this week’s assignment.

Project 52: Master the Triangle

This week, Project 52 is tackling the photographic triangle – aperture, speed, and ISO.  I recall when I started shooting in Manual, it took me a long time to get even a hint of a decent exposure.  Not sure I still get it, but I’m glad we have this challenge this week so that I can refresh and remind myself how the triangle works.

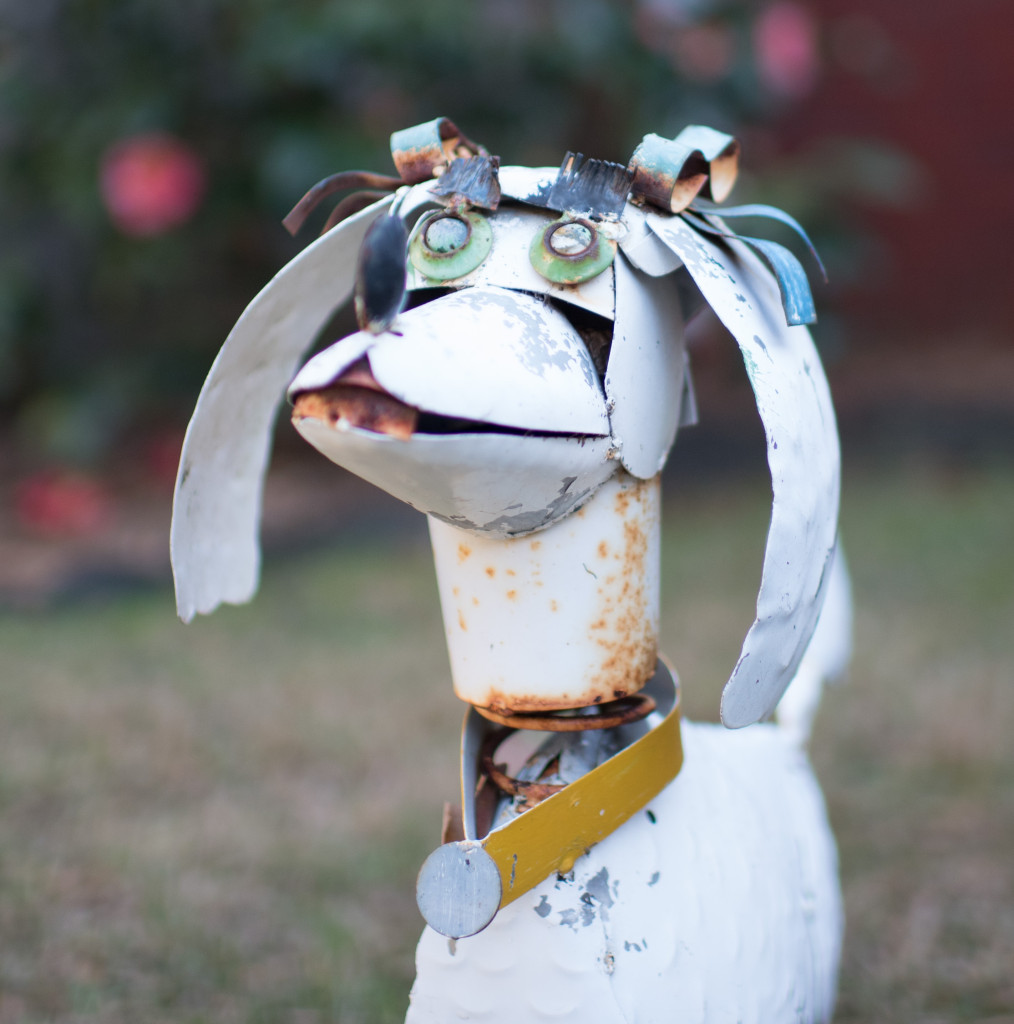
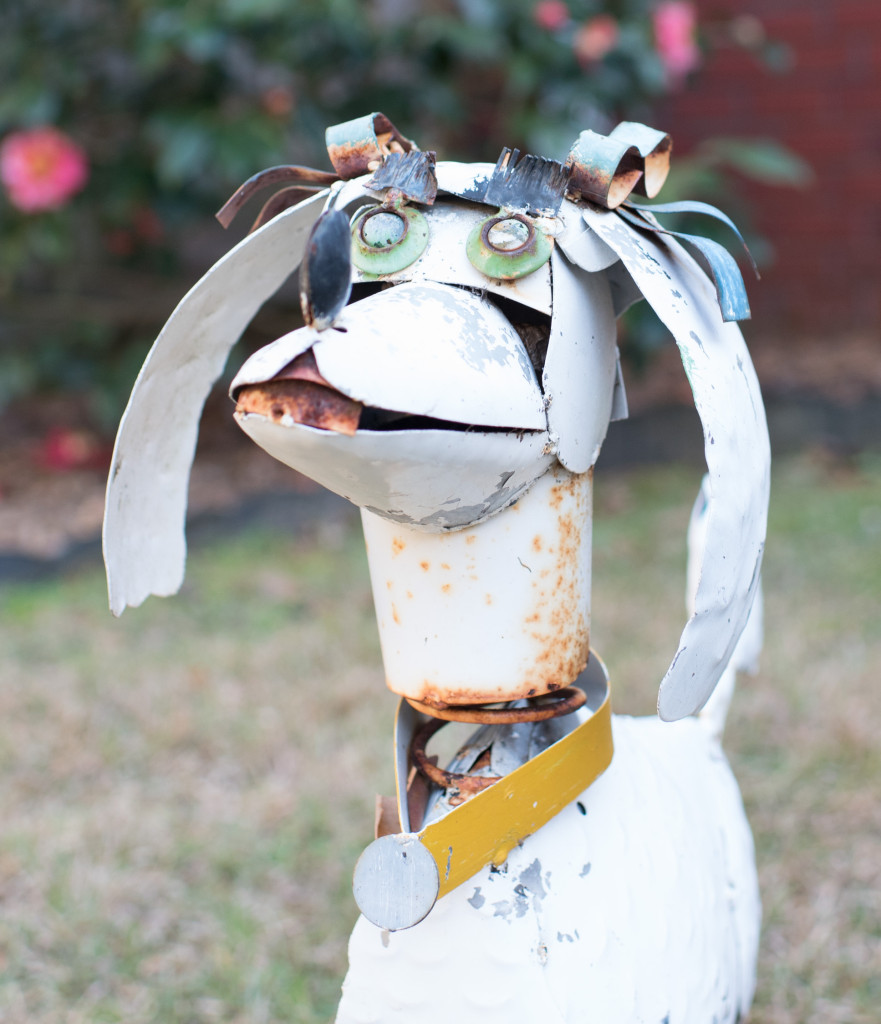
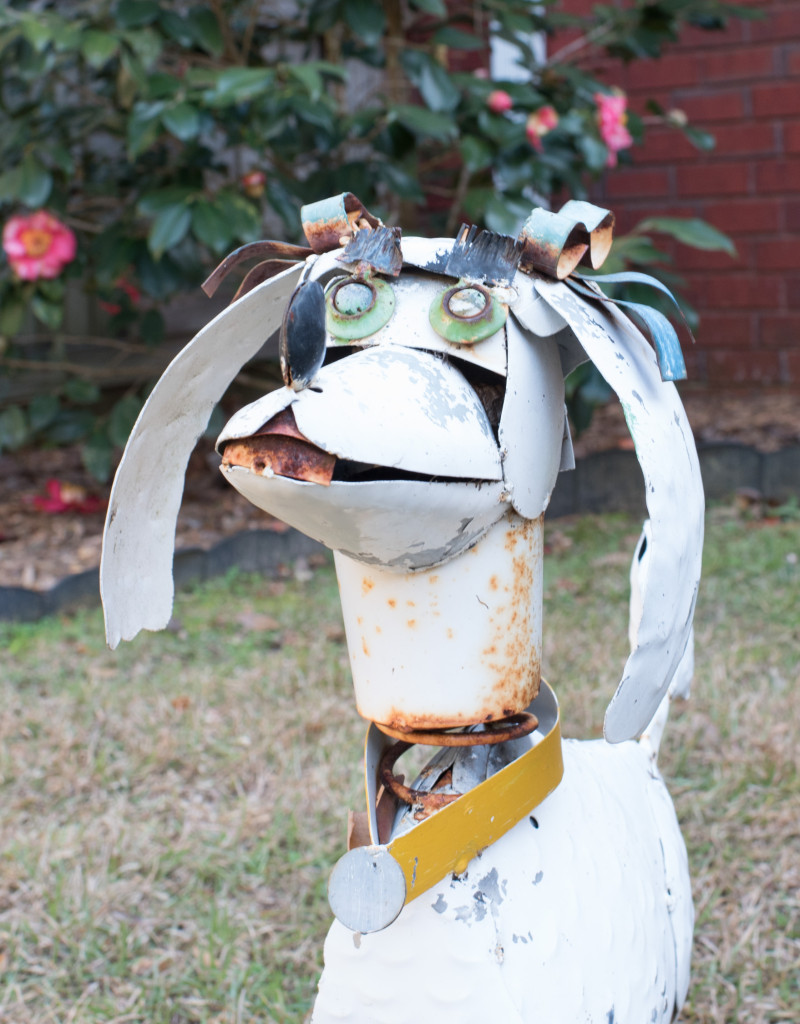
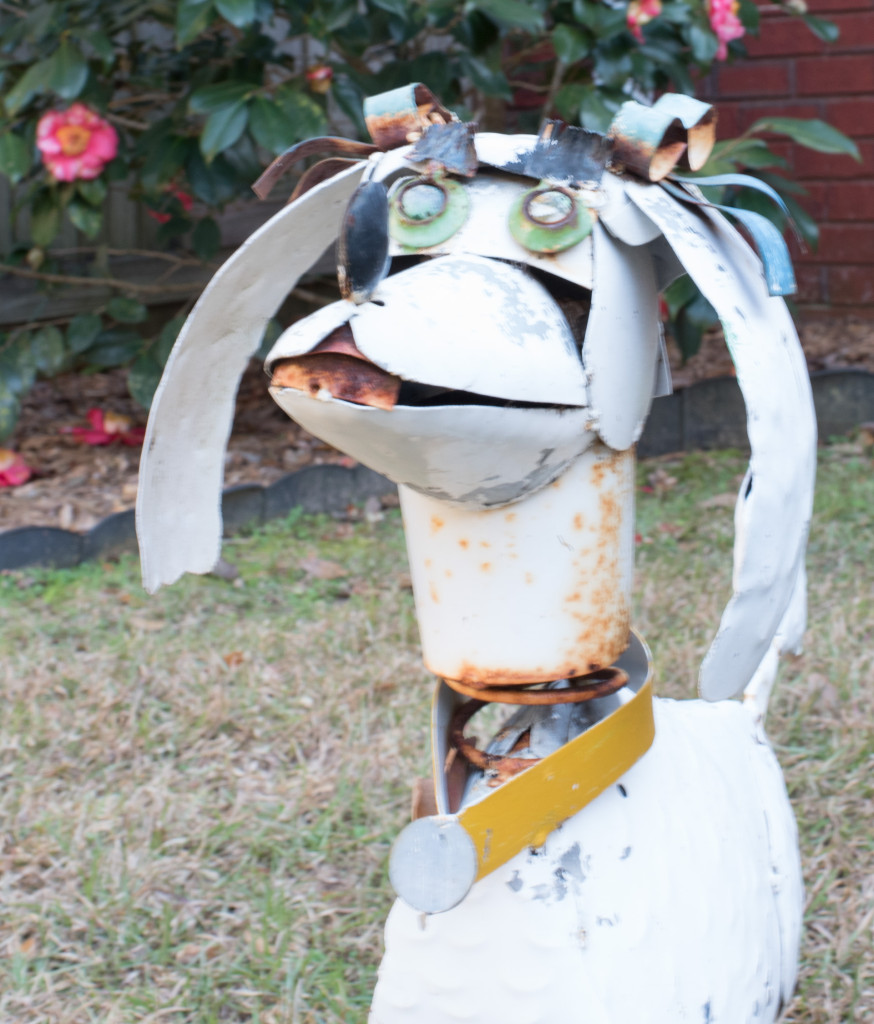
Using a garden “dog”, I started with a 400 ISO, 1/1000 shutter speed, and 1.4 aperture.  With each photo, I kept the same ISO, but slowed the shutter speed a notch and tightened the aperture each time.  The exposure was pretty much the same, with the histogram somewhat in the middle.  But when my speed got to under 1/100, there was a definite unsteady blur beginning.  Too much caffeine!

ISO400, f1.4, 1/1000
ISO400, f3.5, 1/160
ISO400, f3.5, 1/160
ISO400, f9.0, 1/25
ISO400, f9.0, 1/25
ISO400, f14.0, 1/10
ISO400, f14.0, 1/10

Interesting challenge, something I need to continue to work on.  Now go over to Future Framed Photography, South Dakota to see how she handled the triangle.